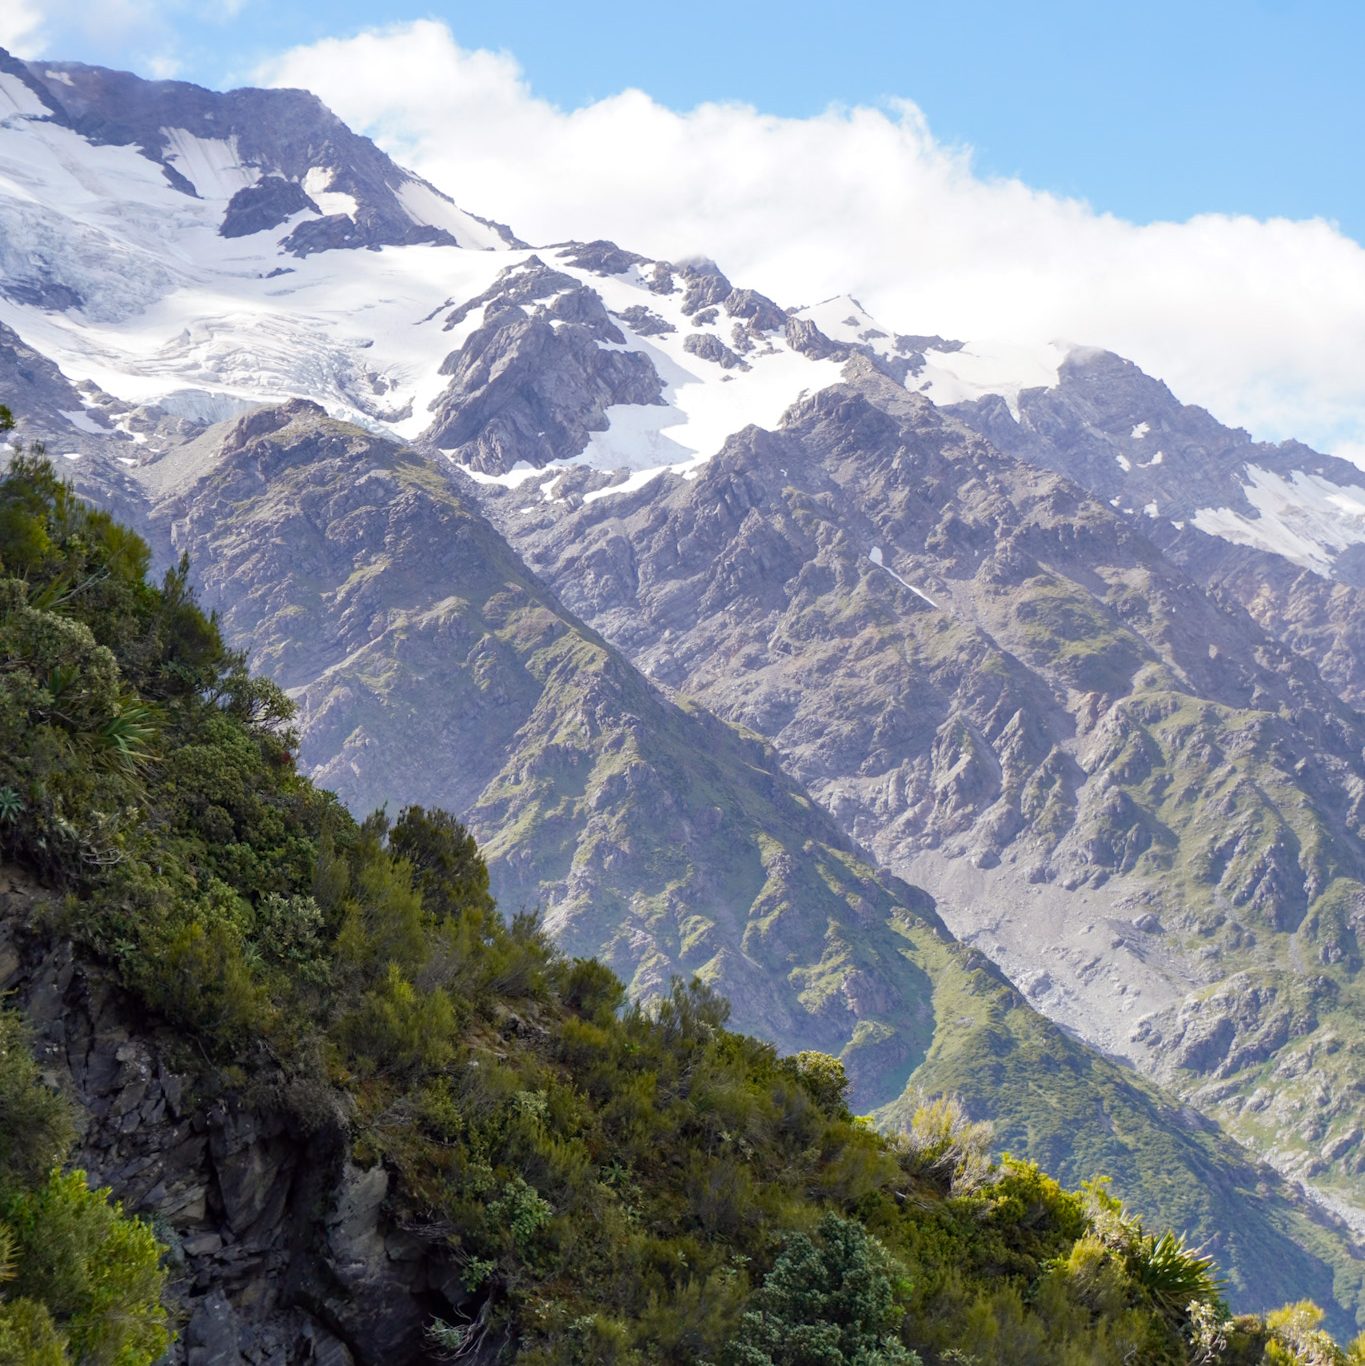
No trip to New Zealand’s South Island is complete without seeing the Southern Alps. This mountain range stretches from Nelson to Milford Sound and is home to some of the country’s most dramatic landscapes. Roughly halfway between those two places is Aoraki/Mount Cook National Park – one of the most beautiful outdoor destinations in the world and home to New Zealand’s tallest mountain, Aoraki Mount Cook.
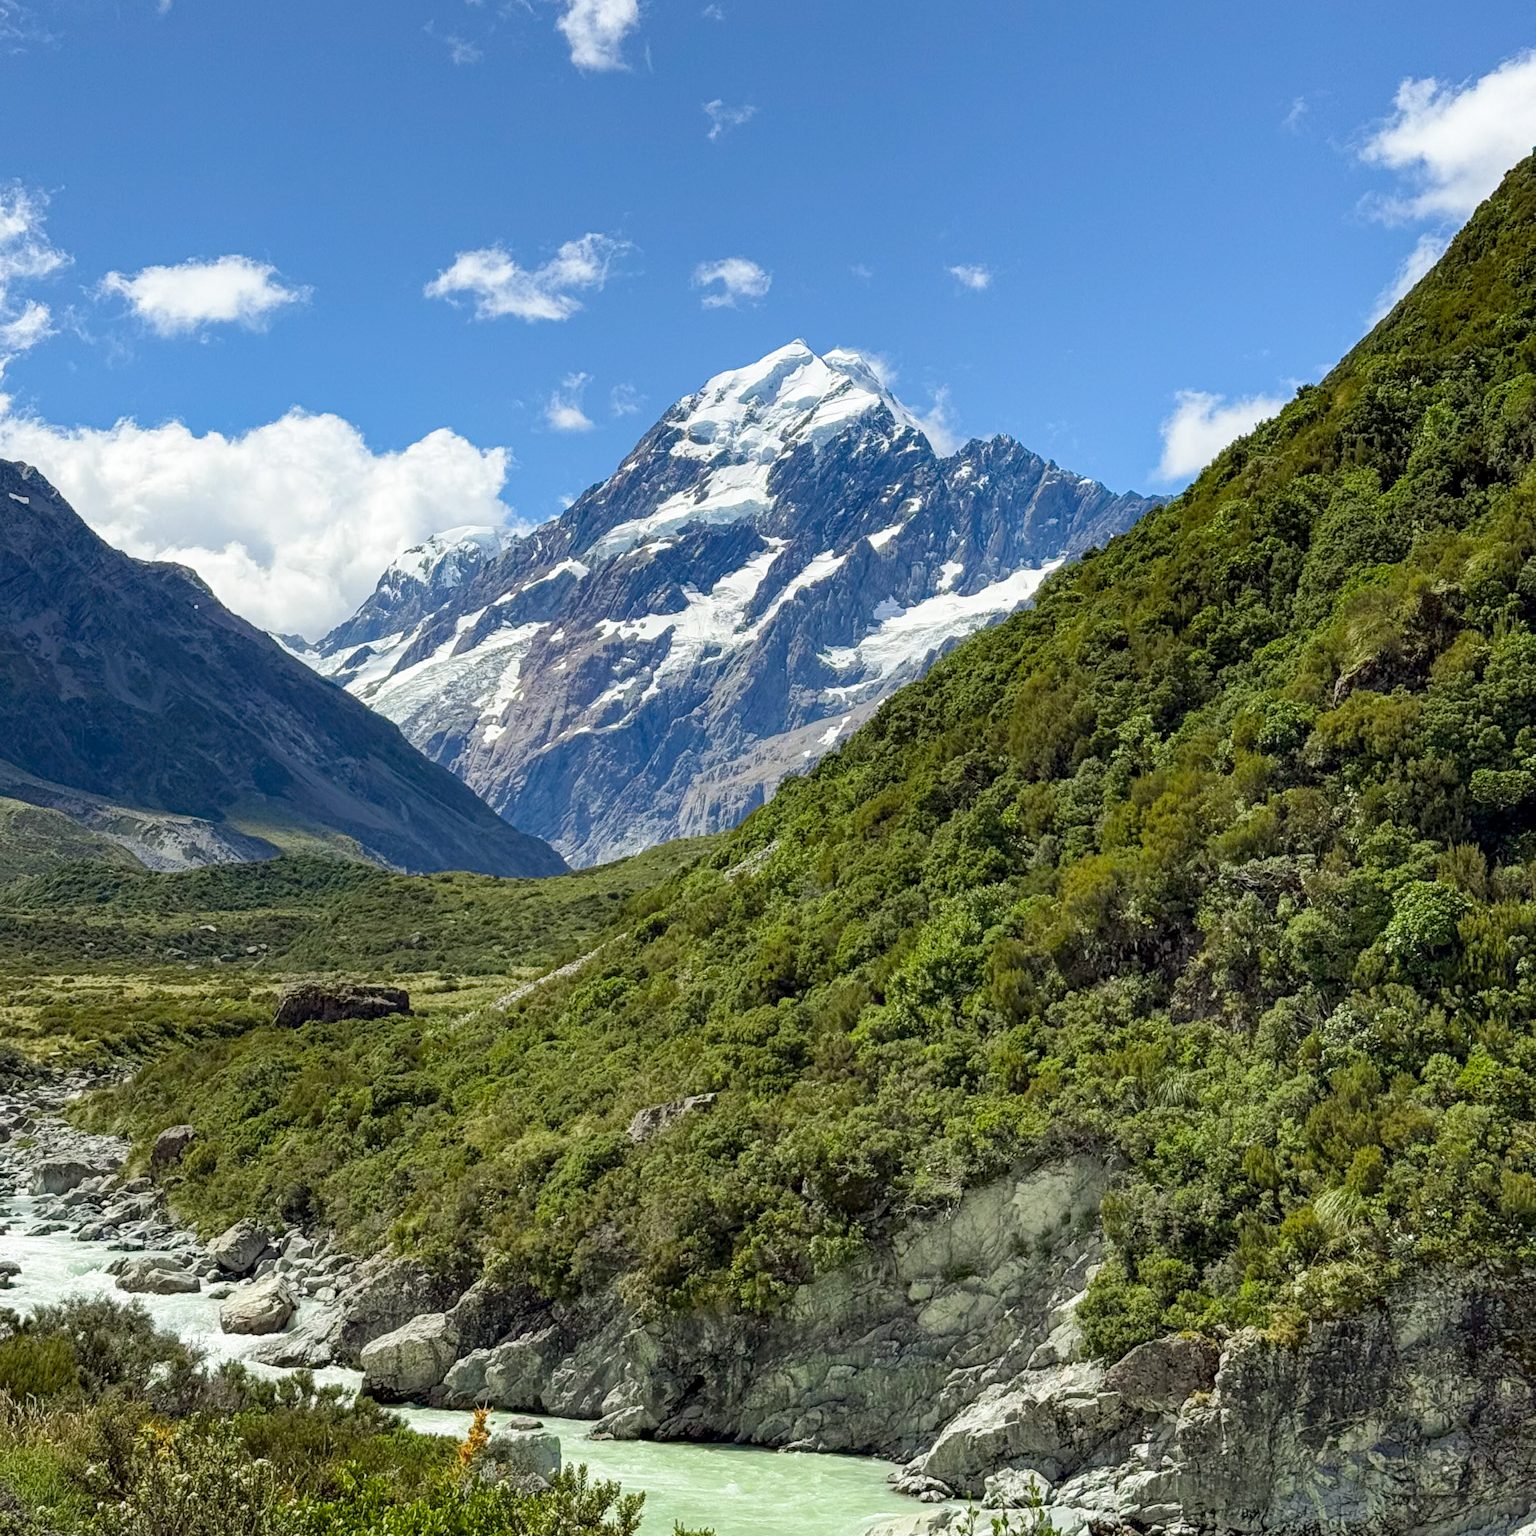
Each year, thousands of people travel into the Southern Alps to gaze at snowy peaks, glacier-carved valleys, and turquoise alpine lakes. The scenery here will leave you speechless, and if you love the outdoors, you must visit.
Aoraki isn’t just one of the most incredible parts of the country, but an iconic piece of Kiwi history. The park was a playground for Kiwis like Sir Edmund Hillary, who was the first person to summit Mount Everest alongside Nepali-Indian mountaineer Tenzing Norgay, and legendary climber Rob Hall, who summited Everest five times before tragically losing his life on the mountain in 1996.
Today, the region is one of the most iconic areas in the Southern Hemisphere, packed to bursting point with incredible hiking trails. While the Hooker Valley Track is arguably the most popular and famous dayhike in New Zealand, my favourite is up the “Stairway to Heaven” to Sealy Tarns.
Disclosure: I have loved and worn Icebreaker products for over a decade. This year, I am partnering with Icebreaker to branch out and try some of their other products, including their innovative ZoneKnit™ range with targeted thermoregulation. I feel exceptionally lucky to work with one of my favourite companies in the world. Although I have partnered with them, all reviews and opinions are my own. I pride myself in authenticity and transparency, and would never tell you to buy something I wouldn’t pay for myself.
- Track Overview
- Getting to Sealy Tarns
- Continuing to Mueller Hut
- Safety Warnings
- What Should You Pack?
- My Most Used Outdoor Gear
- My Favourite Icebreaker Gear
Track Overview
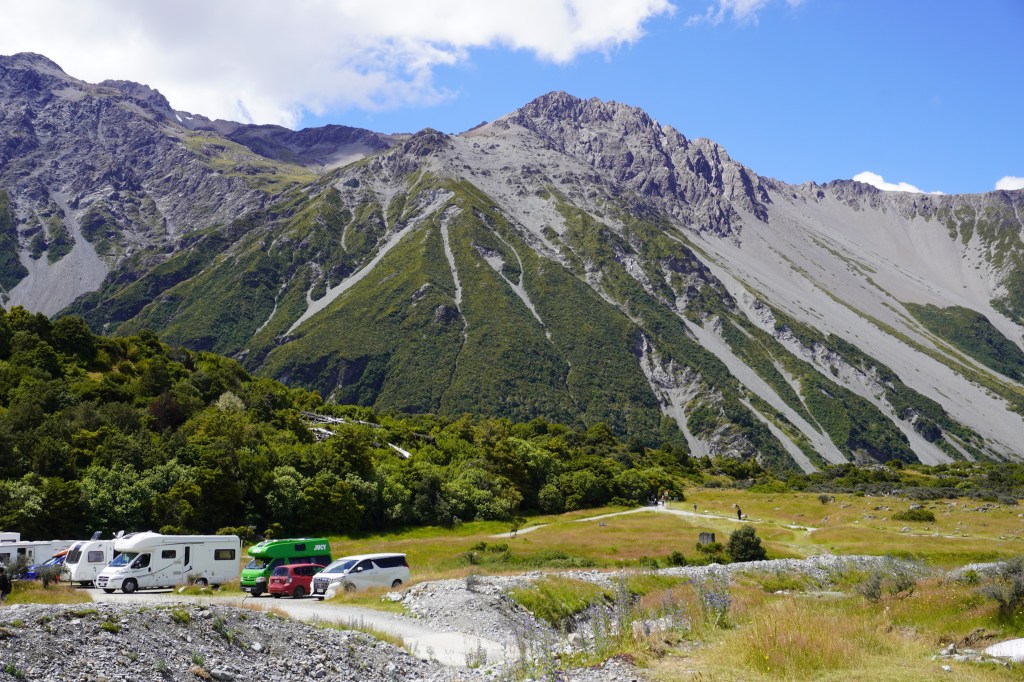
- Trailhead: White Horse Hill DOC campsite
- Difficulty: Moderate-hard
- Distance: 6km
- Time: 3-4 hours return
- Elevation: 600m gain (2,200 stairs)
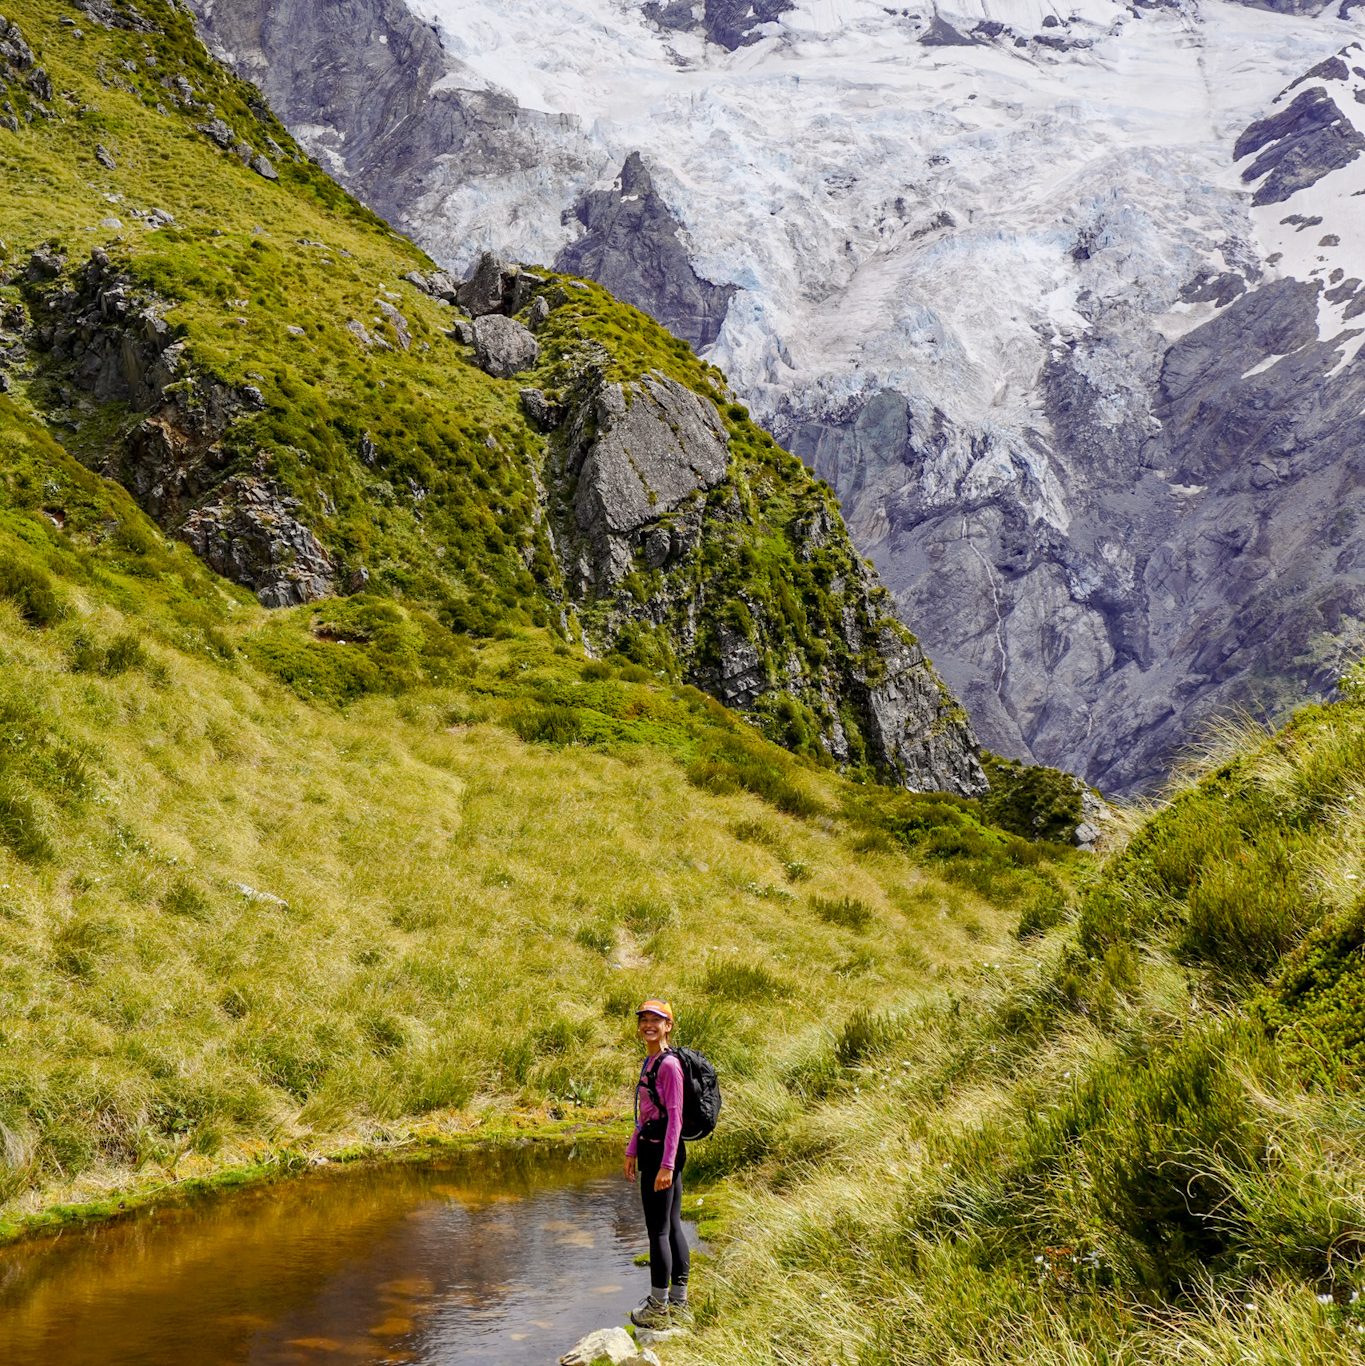
The Sealy Tarns Track is one of the most incredible walks I’ve ever done. The hike to the top will leave your legs burning (okay, on fire), but every step is worth it for what’s at the top. I am not often speechless, but the views were too impressive for my brain to comprehend.
The track is well maintained but renowned for its diabolically steep ascent up 2,200 steps (yikes!). If you’ve done the Tongariro Crossing, I’d loosely compare it to the “Devil’s Staircase” section on that trail. If you’ve hiked Roy’s Peak, I’m pleased to tell you it’s not as hard as that!
Although there’s almost no flat ground to catch your breath, it’s doable for anyone who can walk uphill for 1.5 hours or has enough determination to make it to the top. If you’re travelling in a group and worried about the distance, I recommend suddenly taking up professional photography and “stopping to take a photo” every 5 minutes. You’ll be at the top before you know it!
Getting to Sealy Tarns
The track starts from the same place as the White Horse Hill DOC campsite. You can also walk from Mount Cook Village, but it adds about 45 minutes onto you walk.
The first section is flat and easy before you reach the Kea Point turnoff. If you want to check out Kea Point (3km return), I recommend doing this first. The views from Sealy Tarns are unreal, and seeing Kea Point afterwards might leave you a little disappointed if you do it the other way around.
The track turns into a steady uphill climb through the bush from the junction before reaching a bench. This is your official warning sign that the real workout is about to begin!
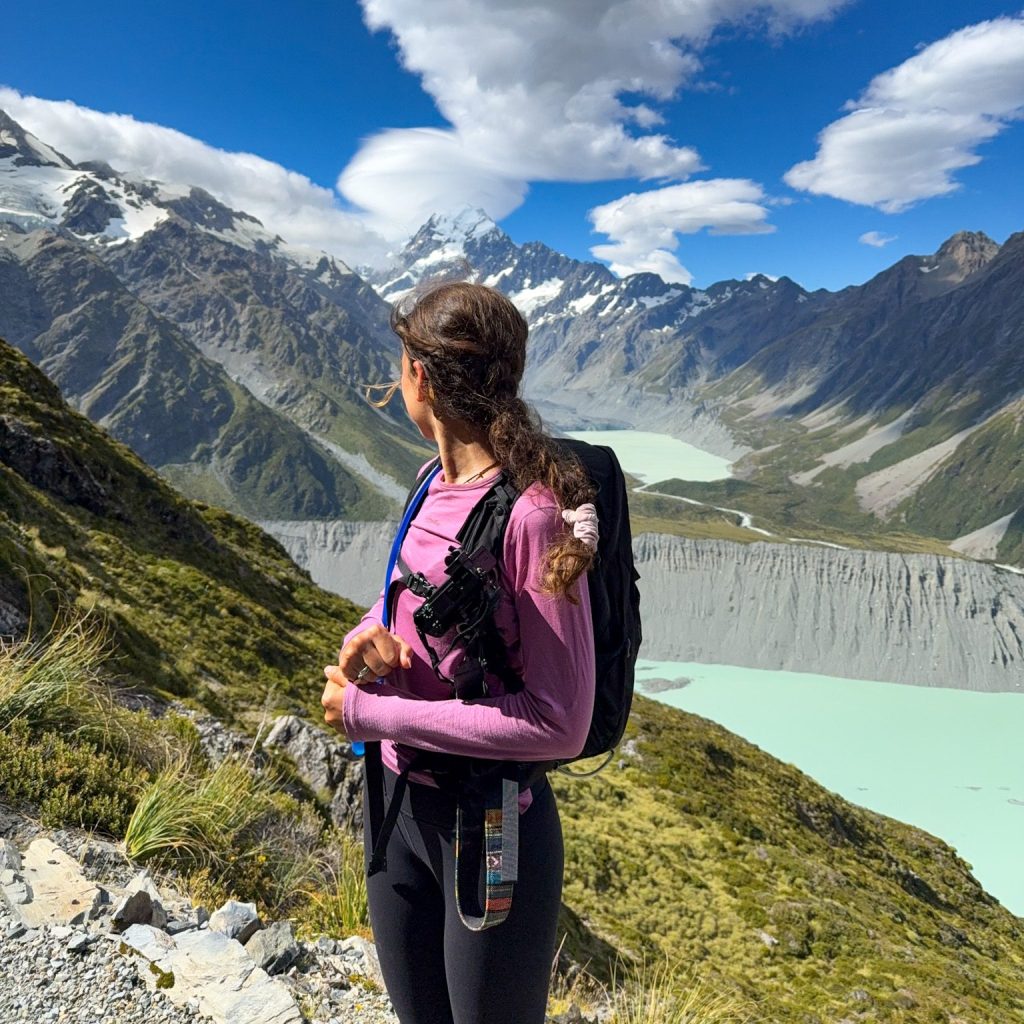
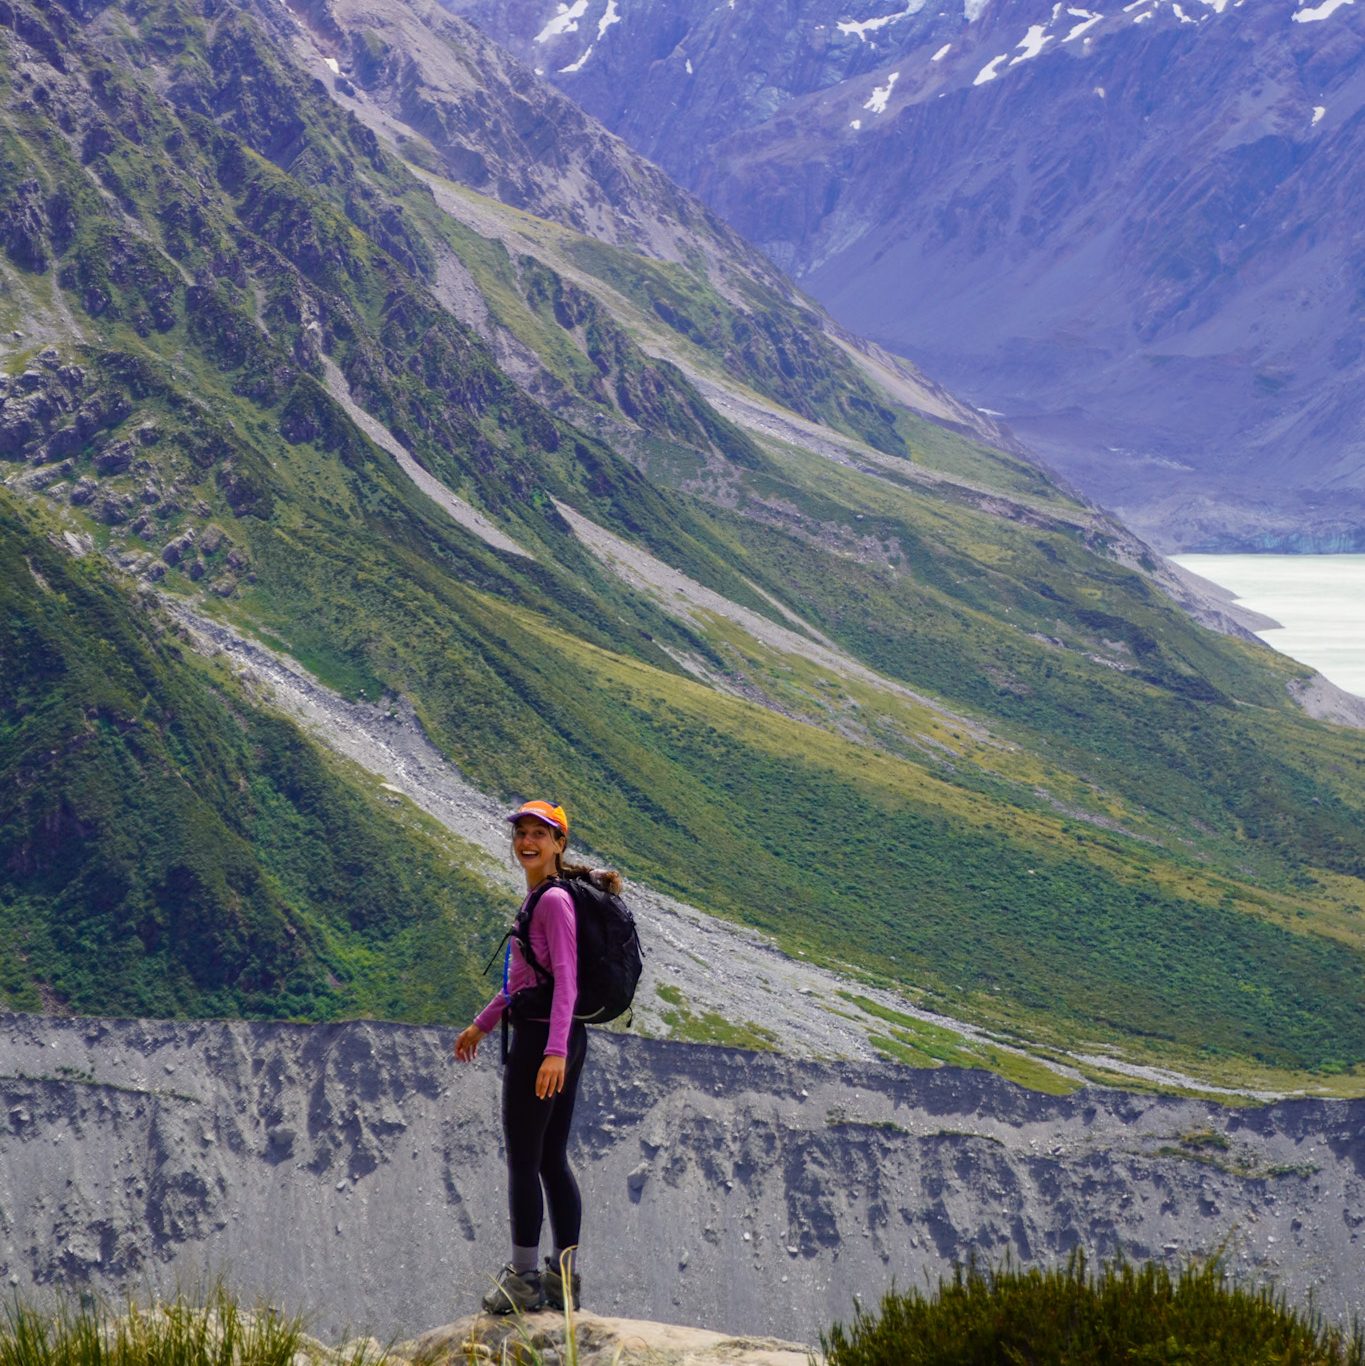
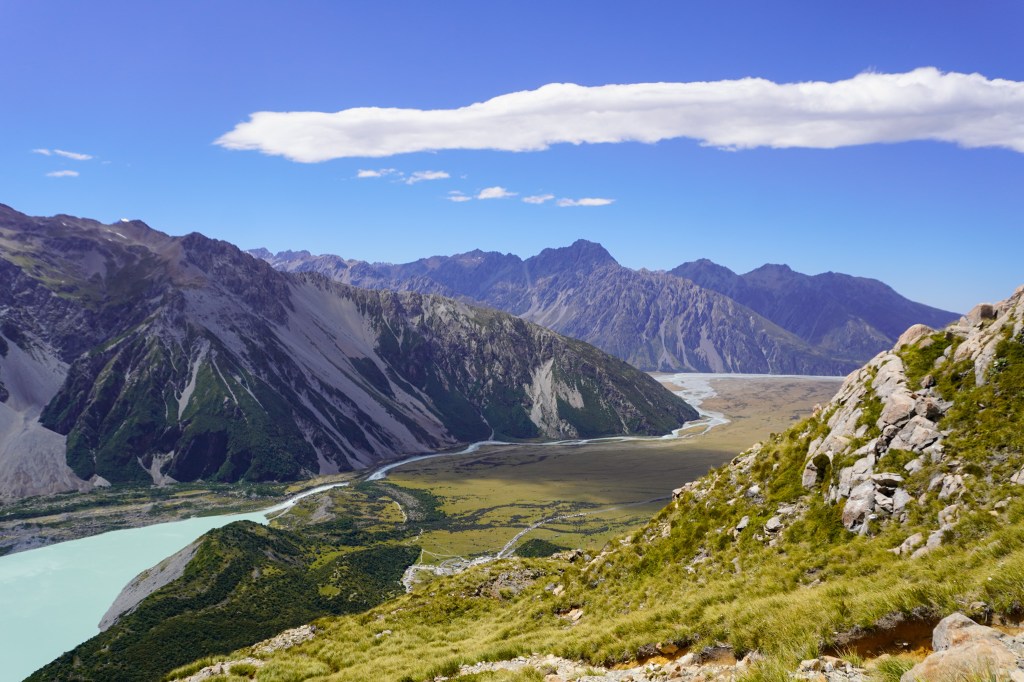
As you climb up the 2,200 steps, Hooker Lake and the entire Hooker Valley will come into view. If you need an excuse to stop, there’s a rocky viewpoint just over 1km up. If you push on, the last section is less steep (not flat, but it feels like it in comparison).
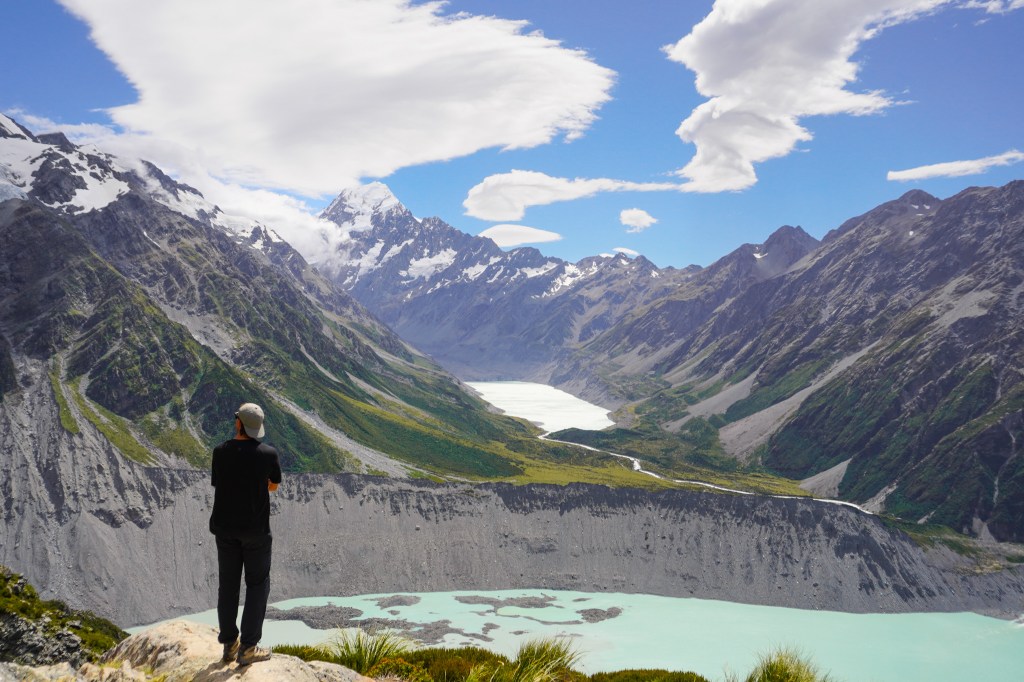
Finally, you’ll reach the top, where a stunning alpine tarn reflects the mountains. If you want the “Instagram famous” shot, there is a small, well-trodden trail from the left-hand side of the picnic table to the edge of the tarn. If you do walk down here, PLEASE keep to the track. Once you’ve finished taking photos, there’s a small picnic table, making this one of the most scenic lunch spots in the world!
Continuing to Mueller Hut
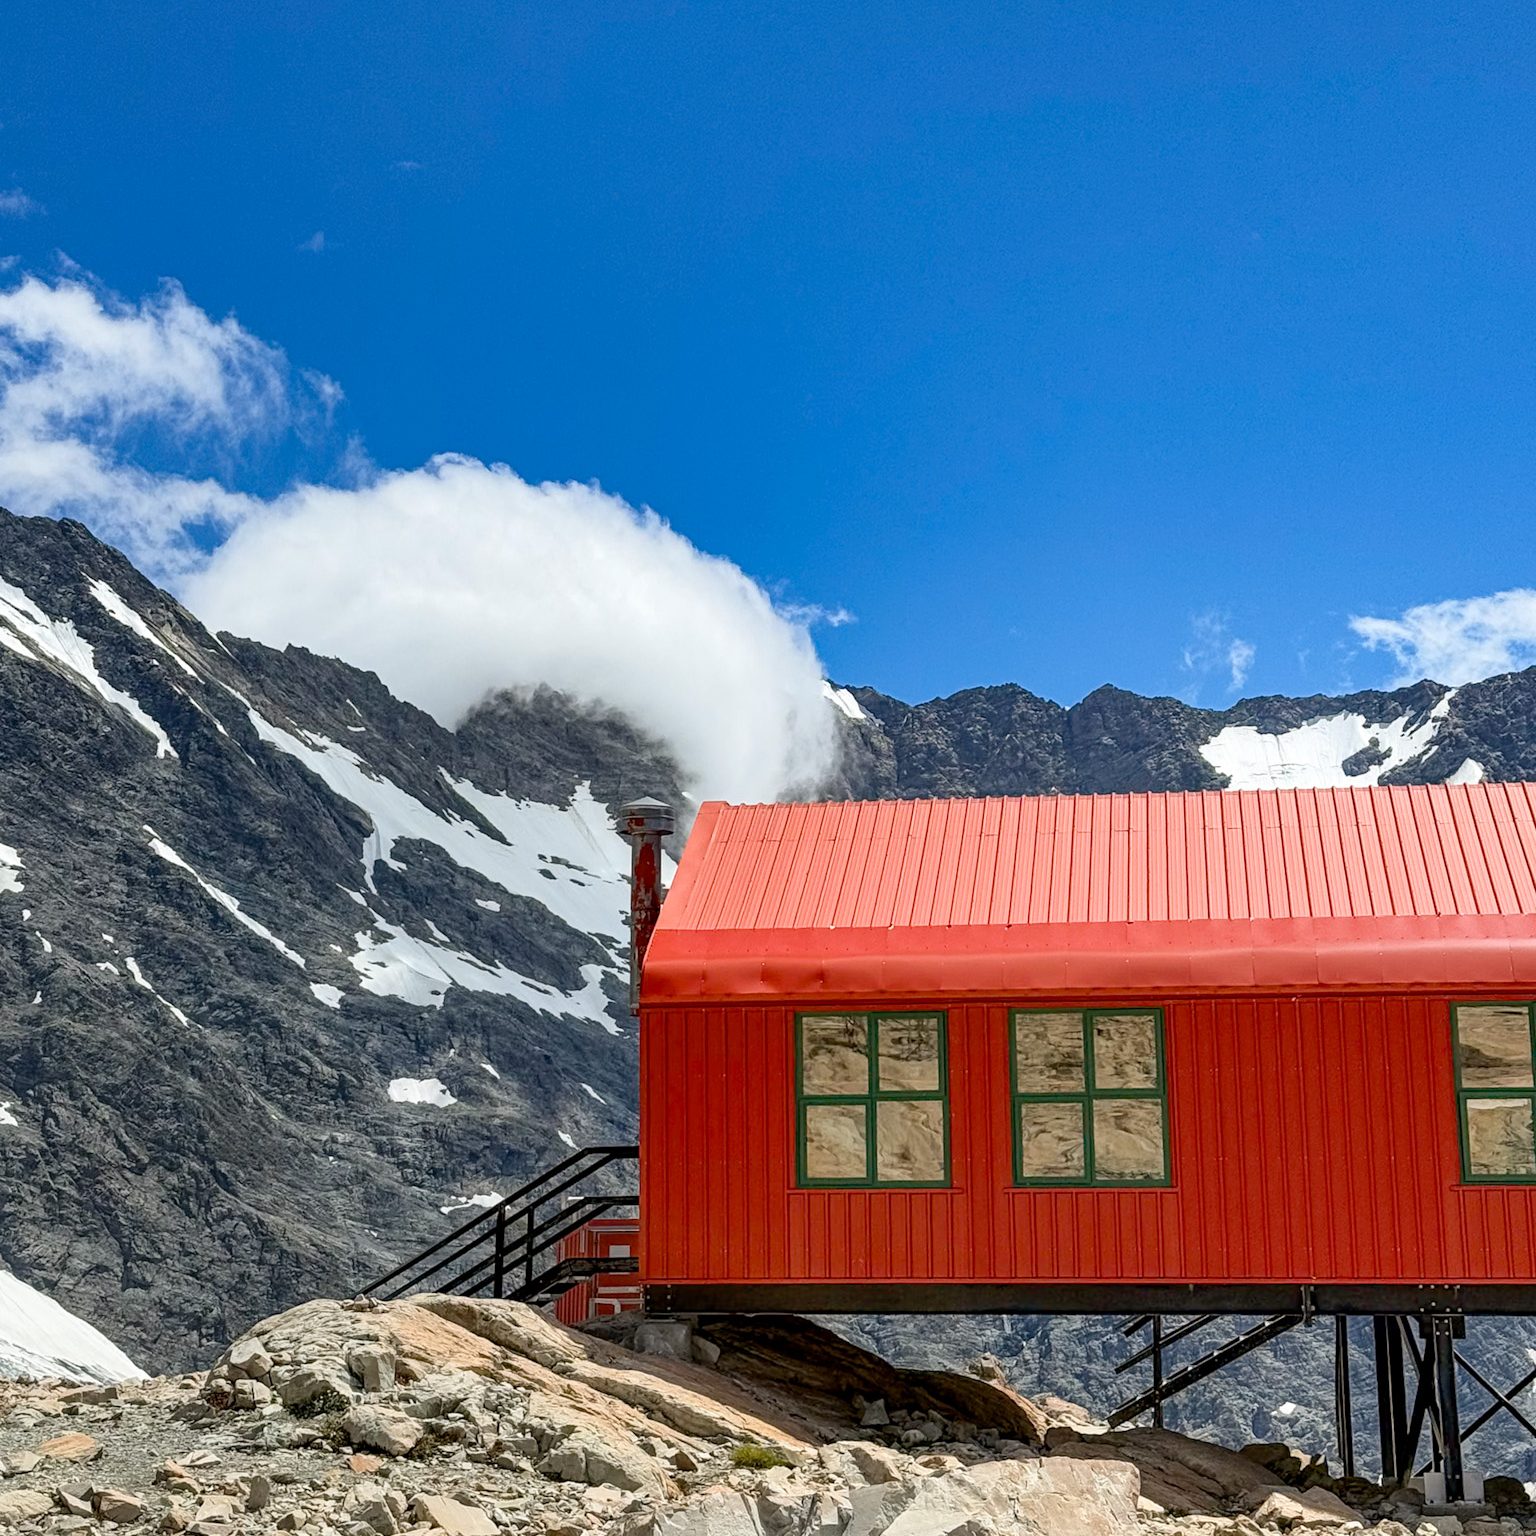
From here, you can either descend back the way you came. Or, continue walking up to Mueller Hut. The Mueller Hut Track is much more technical and more of a rock climb than a well-maintained walk. We did the whole walk (White Horse Hill > Sealy Tarns > Mueller Hut) in 6 hours return. We’re the fittest we’ve ever been (which will be fitter than some and not as fit as others), and although it wasn’t the most challenging walk we’ve ever done, it was a workout! You can also stay overnight at Mueller Hut if you’d prefer to spread the walk over two days. This is one of the most iconic huts in the country, and well worth visiting if you have a couple of days spare!
If you’d rather return to the carpark, follow the same track back the way you came. The descent is easy, though it can get icy in winter.
Safety Warnings
One key principle of “Leave No Trace” is knowing how to keep yourself and your loved ones safe when exploring the great outdoors. New Zealand should be on everyone’s bucket list. However, if you love hiking, it’s important to know what time of year to visit to enjoy some of our best walks.
I do not recommend attempting this track outside of the Great Walk season unless you’re very fit and a confident hiker. This part of the country is wet and covered in ice and snow from March to November (and often other times of the year, too). It’s an exposed mountain range and should be treated with caution. DOC’s official guidance is to check the conditions as it gets incredibly icy, and an ice axe and crampons may be required to access the tarns. There could also be an avalanche risk.
In this case, only attempt the track if you have mountaineering experience, are comfortable using the gear above and have avalanche rescue equipment. If you do not, I’d recommend choosing another beautiful walk in Mount Cook like the Hooker Valley Track.
The weather can change so fast up here. When hiking in New Zealand, you must be prepared with warm layers and a rain jacket as well as some form of sun protection. The other thing to note is that the track is completely exposed, can get windy, and can reach single-digit temperatures without warning. You can get hypothermia all year round (yes, even in the summer), and when you’ve spent the day sweating, you run the risk of getting extra cold. Always check the DOC website, MetService and NIWA before you go and turn back if needed. I know it’s disappointing to miss out on a bucket list hike, but no view is worth risking your life for.
The Sealy Tarns Track is challenging, but unbelievably rewarding. If you love hiking, mountains, or chasing the best views in Aotearoa, this one should be high on your list!
What Should You Pack?
When I go hiking, I bring (almost) all of the same tried-and-true things every single time. Bringing the same gear cuts down the time I spend thinking about what to take and means that I never forget any of the essentials. Plus, I’m the sort of person who will find something they love, and buy it in every colour.
Okay, that’s an exaggeration and I really try to be mindful about my consumption whenever possible. But after 10 years of collecting outdoor gear, I feel like I’ve finally perfected my kit. What you take will vary depending on the season. However, I generally travel with everything I love – it’s better to have something and not need it, than need it and not have it.
My Most Used Outdoor Gear
Remember, the weather conditions in New Zealand can change VERY quickly, so always pack extra layers so you’re prepared.
We did this climb in January 2025. Although it was hot at ground level, the weather changed constantly, and I went from tank top to long sleeve and back again. If you’re travelling or hiking in New Zealand, my top piece of advice is to pack layers.
I will always recommend merino wool as I genuinely believe it’s the Rolls-Royce of hiking apparel. My favourite baselayers are from Icebreaker. I’ve been wearing them for almost 15 years. They’re lightweight, easy to stuff in your backpack, durable and don’t smell, so you can get away with wearing them for a couple of days at a time.
I’ve included a few of my favourite things below, as well as a description of my most-used Icebreaker gear.
An Overview:
- Merrell MOAB 3 hiking boots (full boots with ankle support)
- Icebreaker Hike+ Medium Crew socks
- Icebreaker 200 Oasis Long Sleeve Crewe Thermal Top
- Icebreaker 260 Tech Long Sleeve Crew Neck Thermal Top
- Fleece jacket or puffer jacket
- A wind and waterproof jacket with a hood (ALWAYS pack a rain jacket, no matter the weather)
- Icebreaker 125 ZoneKnit Energy Wind Long Sleeve Top or t-shirt, depending on the weather
- Leggings, hiking shorts or hiking pants (depending on the season)
- A cap or beanie (some people pack one and wear the other, but I usually choose one depending on the season)
- Sunglasses
- An extra base layer (same as above)
- An extra pair of socks
- A buff for extra warmth
My Favourite Icebreaker Gear
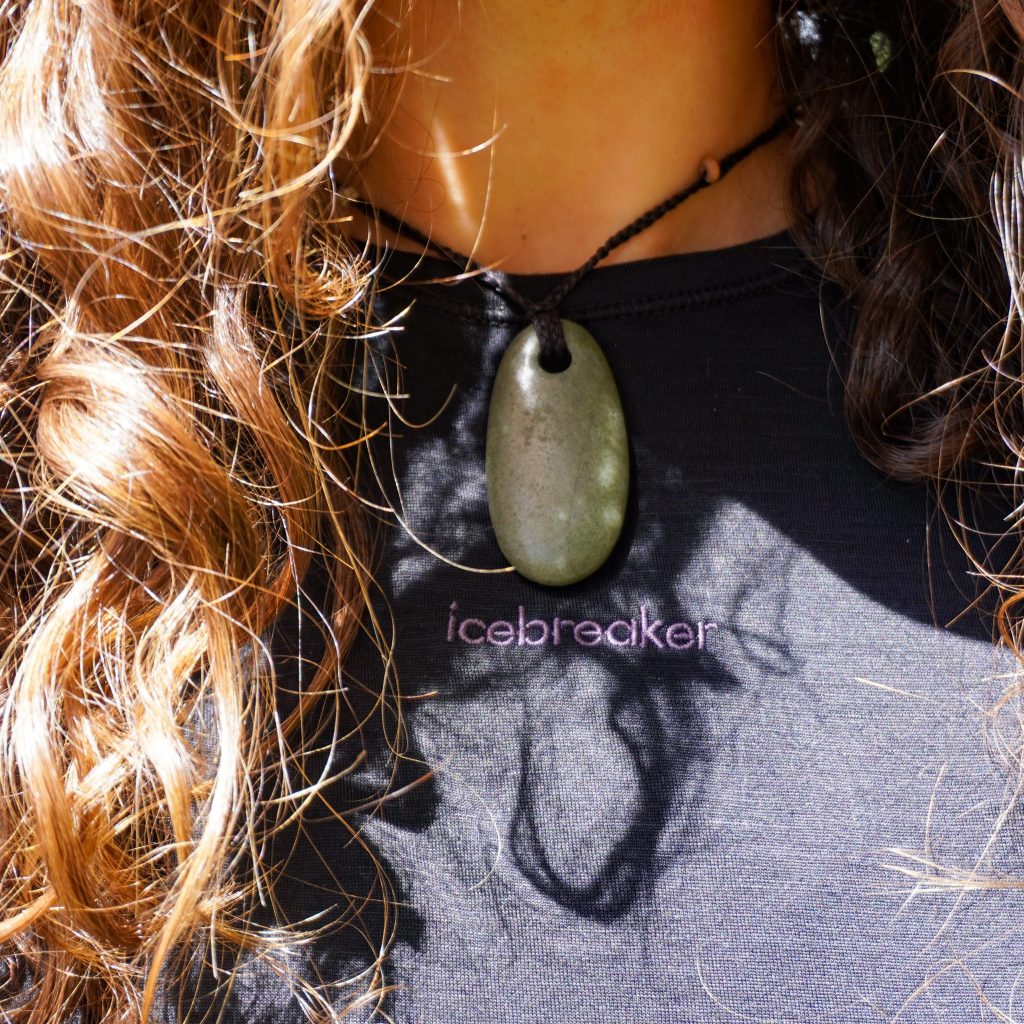
In my opinion, Icebreaker has set the standard for ultra-high-quality Merino wool products. I was first introduced to Icebreaker over a decade ago, and they’re still one of the only brands I consistently trust to keep me safe when I’m outdoors.
Not only do they make incredible clothes, but they’re also environmentally responsible and care about the welfare of their animals. Icebreaker is currently 96.14% plastic-free and is working towards its goal of being 100% plastic-free.
One of the downfalls of Merino wool is that it is a huge investment. Like most things, high quality comes with a high price tag! I will always tell you that you don’t need anything to get outdoors. If you’re new to hiking or simply want to do >2 coastal trails close to home, you probably won’t need to invest in technical gear. But, if you’re planning any longer hikes, summitting mountains or camping in the middle of winter (hi, me too!), it’s well worth investing in something that will keep you safe for years.
If you want to match with me (I highly recommend it), you can read my full reviews here.
Thermals and Baselayers
Women’s Merino 200 Oasis Long Sleeve Crewe Thermal Top
Icebreaker thermals are one of the things in my wardrobe that I cannot imagine living without. They are my go-to layering piece, and there’s a reason they’re one of Icebreaker’s best-sellers!
The 200 Oasis thermal was my first introduction to Icebreaker in 2012, when I inherited my original baselayer from my Mum (I still wear that one today). In 2023, I finally treated myself and Mathew to another before our 8-month backpacking trip through Europe. Today, they constantly rotate in my wardrobe. I wear them under a fleece in the winter, as a single layer in the shoulder seasons and on camping trips all year round. If you can only invest in one thermal and need something ultra-versatile, I’d recommend this one.
125 ZoneKnit™ Energy Wind Long Sleeve
One look at my social media accounts is enough to tell you that my pink long-sleeved shirt made it into my “wardrobe staples” list faster than you can say Merino.
I was very kindly gifted this top when I signed my first contract with Icebreaker at the end of 2024. I remember perusing their website and, as someone who NEVER wears long-sleeved shirts in summer (let alone Merino!!) I thought I would give it a whirl. Safe to say, it’s been surgically attached to me all year long. I’ve worn it on hiking trips, early morning sunrise walks, as middle-of-the-day sun protection, lounging around the house and lots of moments in between.

My “Ride or Die” Hiking Socks
I can’t begin to tell you the number of times I’ve wanted to kiss my Merino Hike+ Medium Crew Socks. Okay, not literally (that’s disgusting). But, they have saved my feet more times than I can count.
Their moisture-wicking ability is insane. I’ll be completely honest and say that before I started researching the “why” behind Icebreaker, I wasn’t 100% sure why they had never given me blisters. At the same time, so many of my friends ended their trips in agony. It turns out that the fibres in the socks absorb your moisture vapours and evaporate them outside of the fabric. But when the temperatures are lower, the vapours condense inside the fibre, giving off heat and keeping you nice and warm.
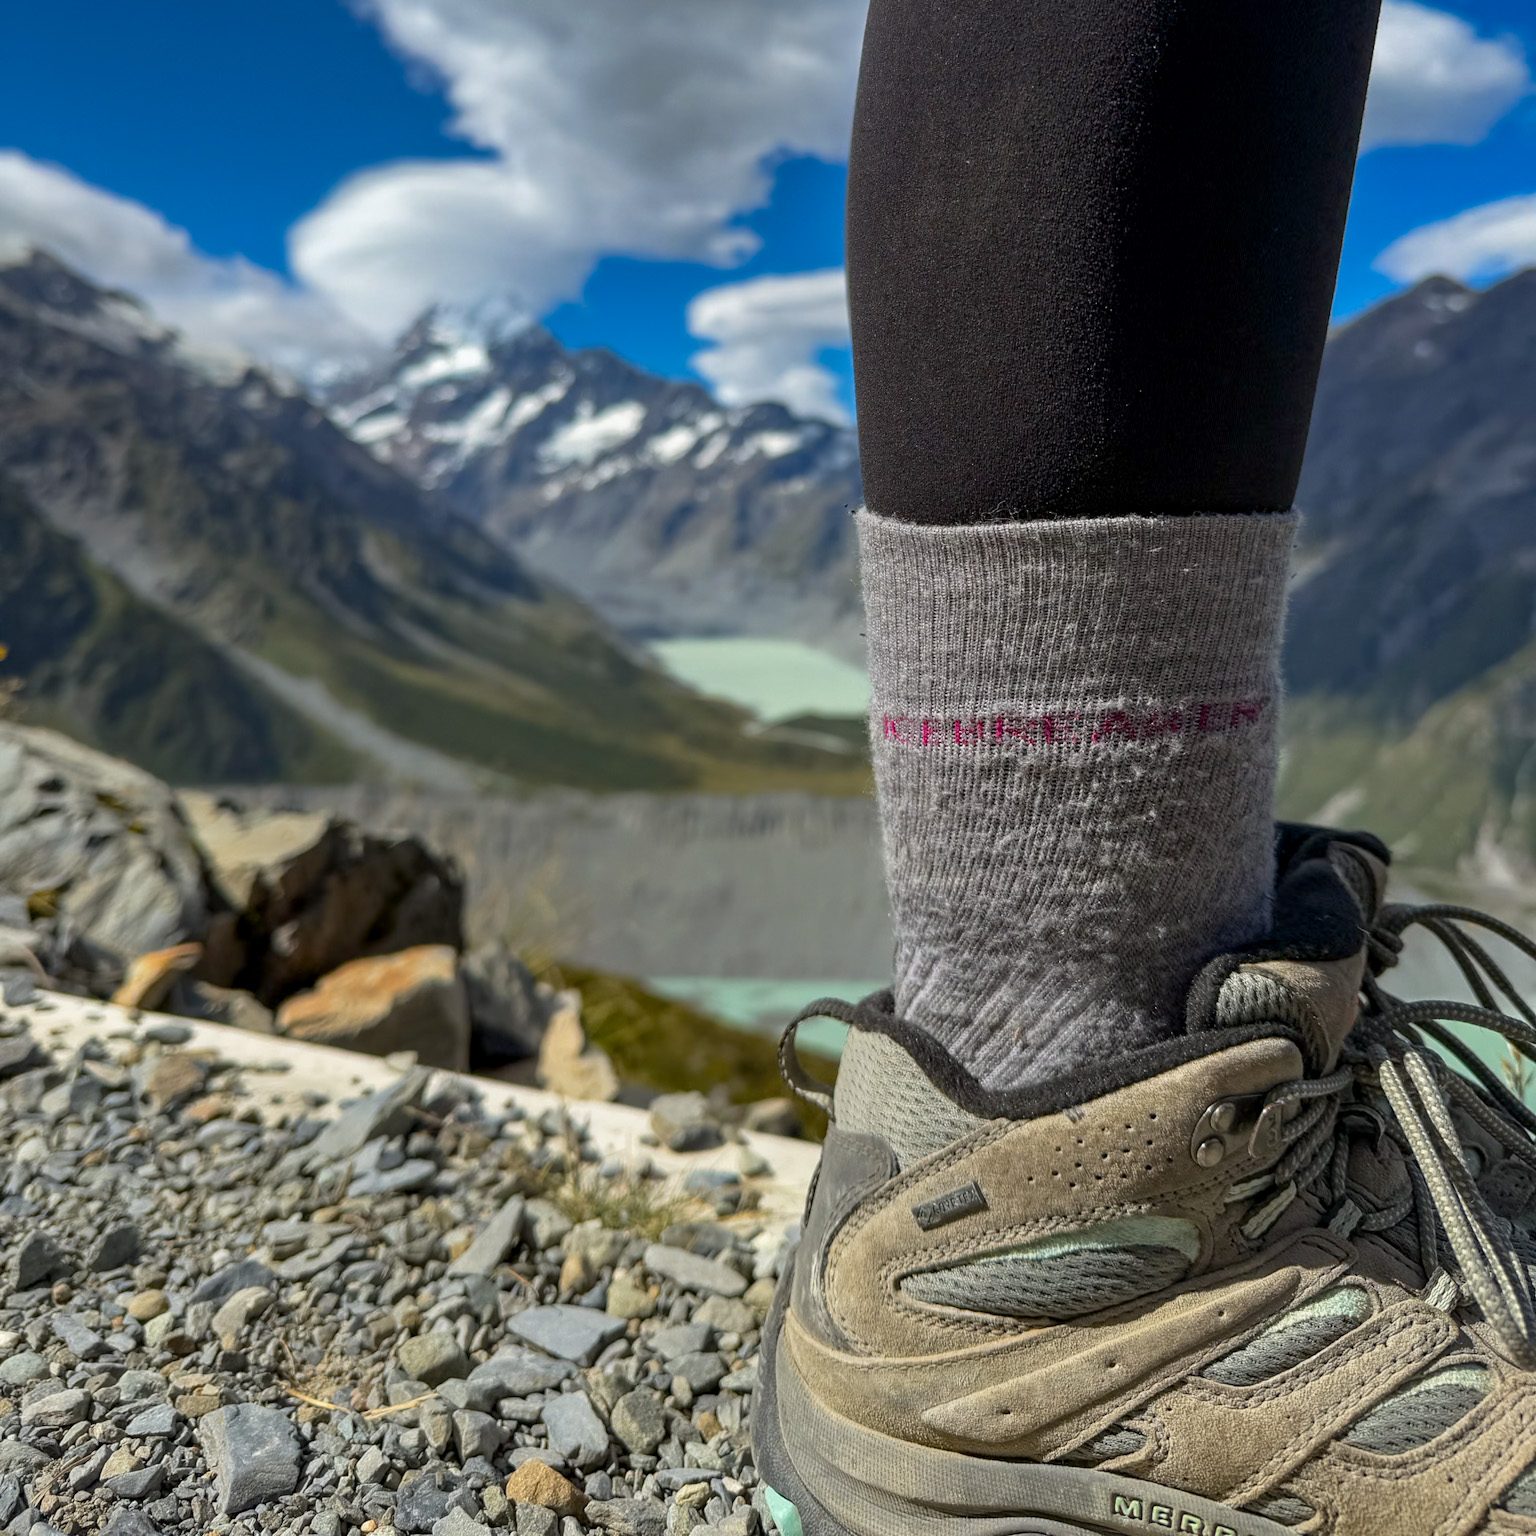
I’m wearing my first-ever pair of Icebreaker hiking socks in this photo. This picture was taken in January 2025, 12 years after my Nan bought them for me in 2013. They’re very low maintenance as far as wool goes and I must have washed them 1000+ over the last decade.
I’m also slightly embarrassed to admit that I’ve put them in the tumble dryer far more times than I should, and they’ve never lost their shape… (Icebreaker if you’re reading this, pretend I didn’t say that xx)
I’m not saying you should start chucking your Merino in the tumble dryer (seriously, please don’t), but I AM saying that I’ve well and truly proven that these socks are durable, which makes investing in quality socks like these a no-brainer if you’re serious about hiking.

Leave a comment