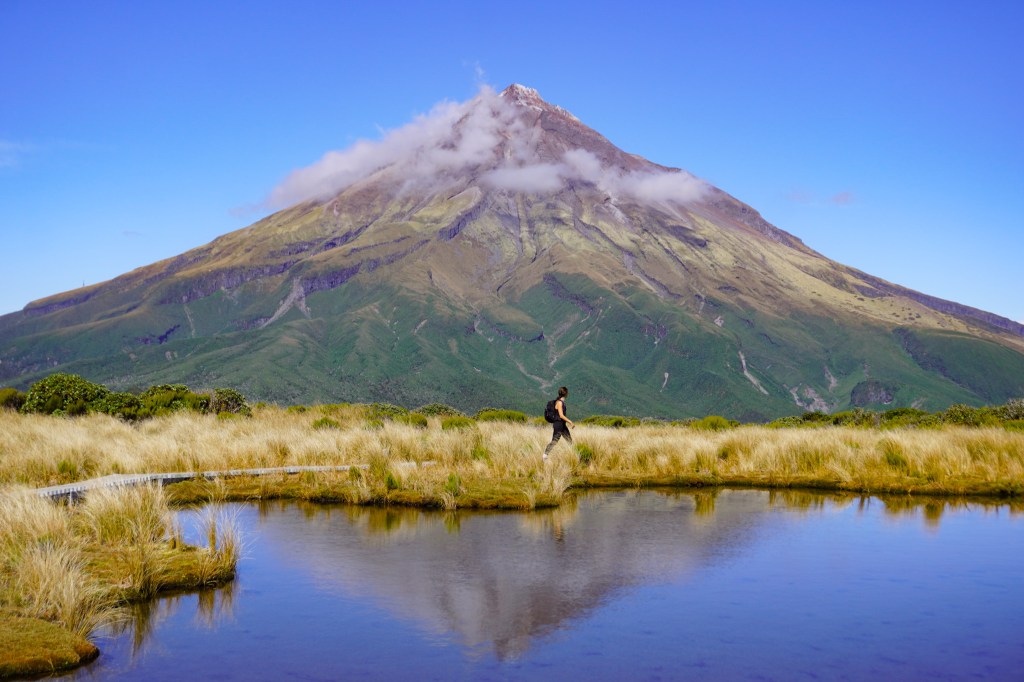
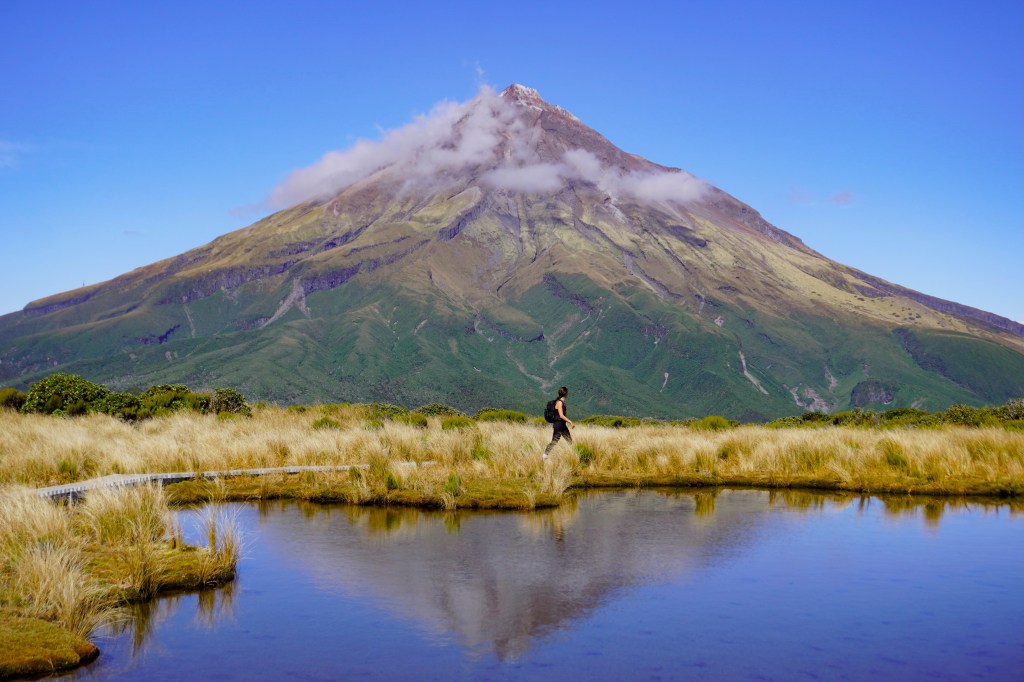
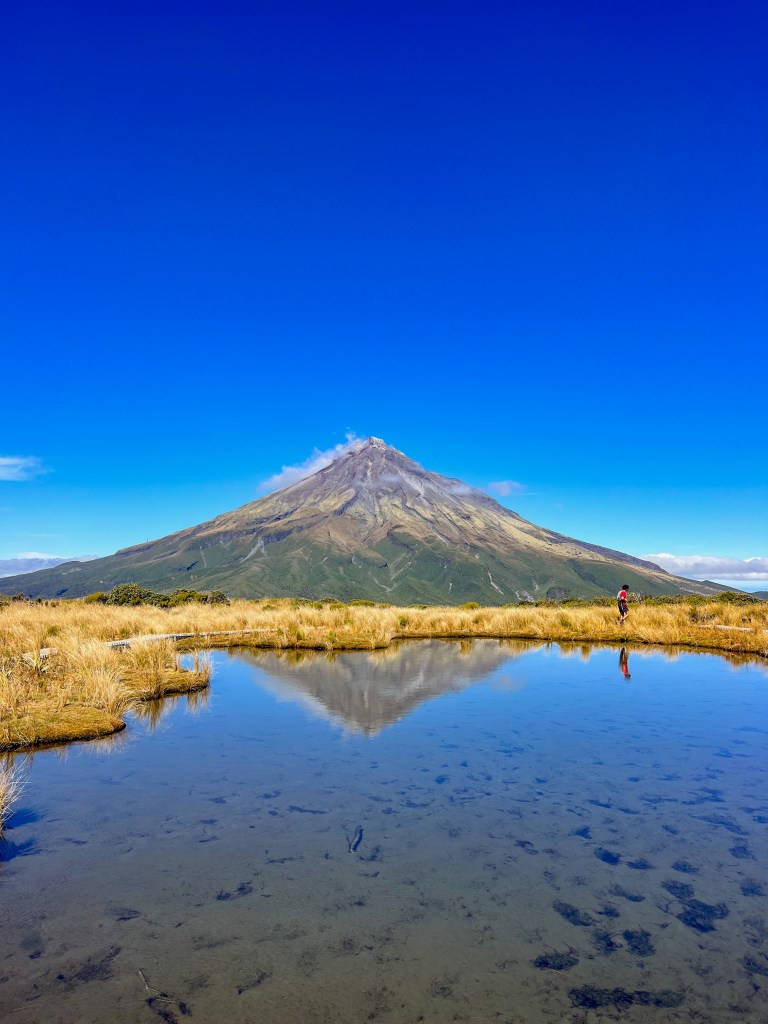
Nestled in Taranaki lies Pouakai Tarn. Perhaps one of the most photographed locations in the country, Pouakai Tarn offers hikers a perfect reflection of Mount Taranaki in the water.
If you love hiking, photography and great views, this is the spot for you!
The key to getting the perfect photo is hiking on a clear day, with no clouds and very little wind. Unfortunately, New Zealand has incredibly unpredictable weather (seriously, I sometimes think our meteorologists flip a coin and hope for the best). I recommend going for the hike and staying for the view if the weather plays ball.
In this post, I’ll share my experience, tips and what you can expect from the Pouakai Tarns track so you know exactly what you’re in for.
- How to get to Taranaki
- Where to stay in Taranaki
- What to pack for the Pouakai Tarns hike
- How to hike the Pouakai Tarns Track
Disclosure: This post contains affiliate links, which means if you decide to use the links and make a successful purchase, I will receive a small commission from the sale at no additional cost to you. Thank you for being here ❤
How to get to Taranaki
Getting to Taranaki from major cities in the North Island, Auckland, Tauranga, and Wellington is relatively straightforward.
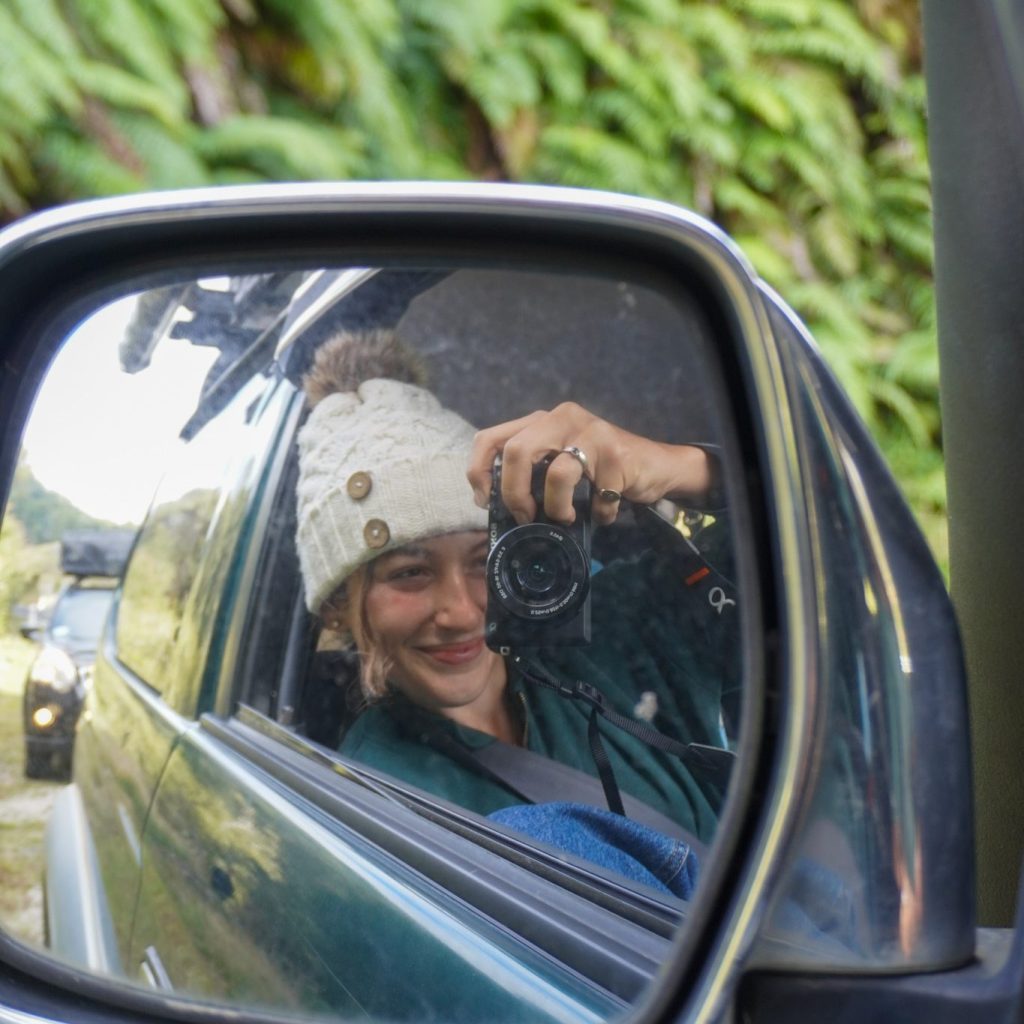
From Auckland, head south on State Highway 1 and then jump onto the scenic drive down State Highway 3, which leads directly to Taranaki. I’ll always recommend driving because I love road trips, and it’s the best way to explore New Zealand. But domestic flights are easy to grab from Auckland Airport to New Plymouth Airport if you don’t want to drive.
If you’re travelling from Wellington, choose between driving via State Highway 1 and then onto State Highway 3 or catching a flight from Wellington Airport to New Plymouth.
For travellers coming from Tauranga, driving south on State Highway 2 and then connecting to State Highway 3 offers the most beautiful route to Taranaki, showcasing the North Island’s diverse landscapes along the way.
Where to stay in Taranaki
Accommodation in Taranaki varies from holiday parks and campsites to boutique hotels.
Given that I’ve only visited Taranaki once, I cannot point you toward luxury accommodation in New Plymouth. However, I can introduce you to the best campground in the region: Durham Lake Holiday Park.
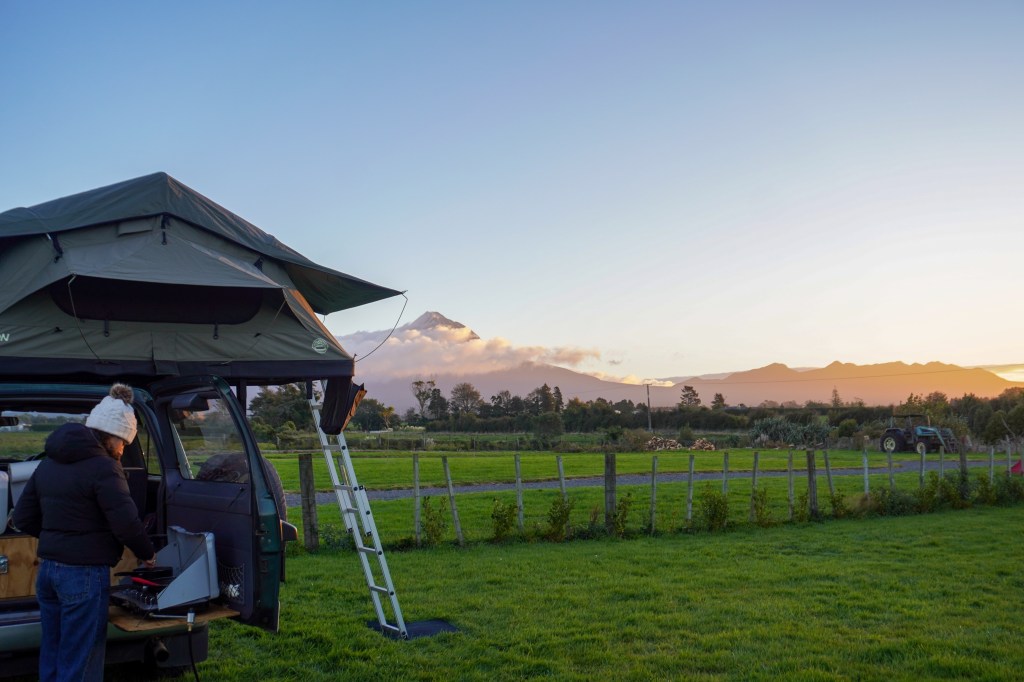
Owned by the most welcoming man, Gavin, Durham Lake has facilities to boot, a fully stocked bar and a jaw-dropping view of Mount Taranaki. We chose to stay here because it’s just four minutes from Inglewood and twenty minutes from New Plymouth. But seriously, I’d travel out of my way to stay here.
What to pack for the Pouakai Tarns hike
New Zealand’s weather is often unpredictable; blistering sun one minute, clouds and rain the next. Therefore, I always recommend packing for the unexpected. Especially when you’re hiking for 3+ hours! Here’s a list of my favourite hiking gear:
- Water and a good backpack
- Decent footwear – I love Merrell MOAB boots
- Your packed lunch and some extra snacks
- A thermal/warm base layer and a fleece
- A rain jacket
- A power bank
- Your camera, especially if you like photography
For more information on what to pack to go hiking in New Zealand, check out my day hike packing guide.
Disclosure: This post contains affiliate links, which means if you decide to use the links and make a successful purchase, I will receive a small commission from the sale at no additional cost to you. Thank you for being here ❤
How to hike the Pouakai Tarns Track
The shortest way to Pouakai Tarn is from the Mangorei Trailhead, approximately 20 minutes from New Plymouth and 40 minutes from Durham Lake Holiday Park.
There are other ways of getting to Pouakai Tarn, like completing the Pouakai Circuit (on my bucket list!), but this track is perfect for a day trip.
When you arrive at the Mangorei Trailhead, there’s a huge free carpark. But it fills up quickly! We arrived at 11am and nabbed the last available spot.
There are also toilets at the start of the track, which I recommend you use, as the next toilets are at Pouakai Hut, 1.5 hours away.
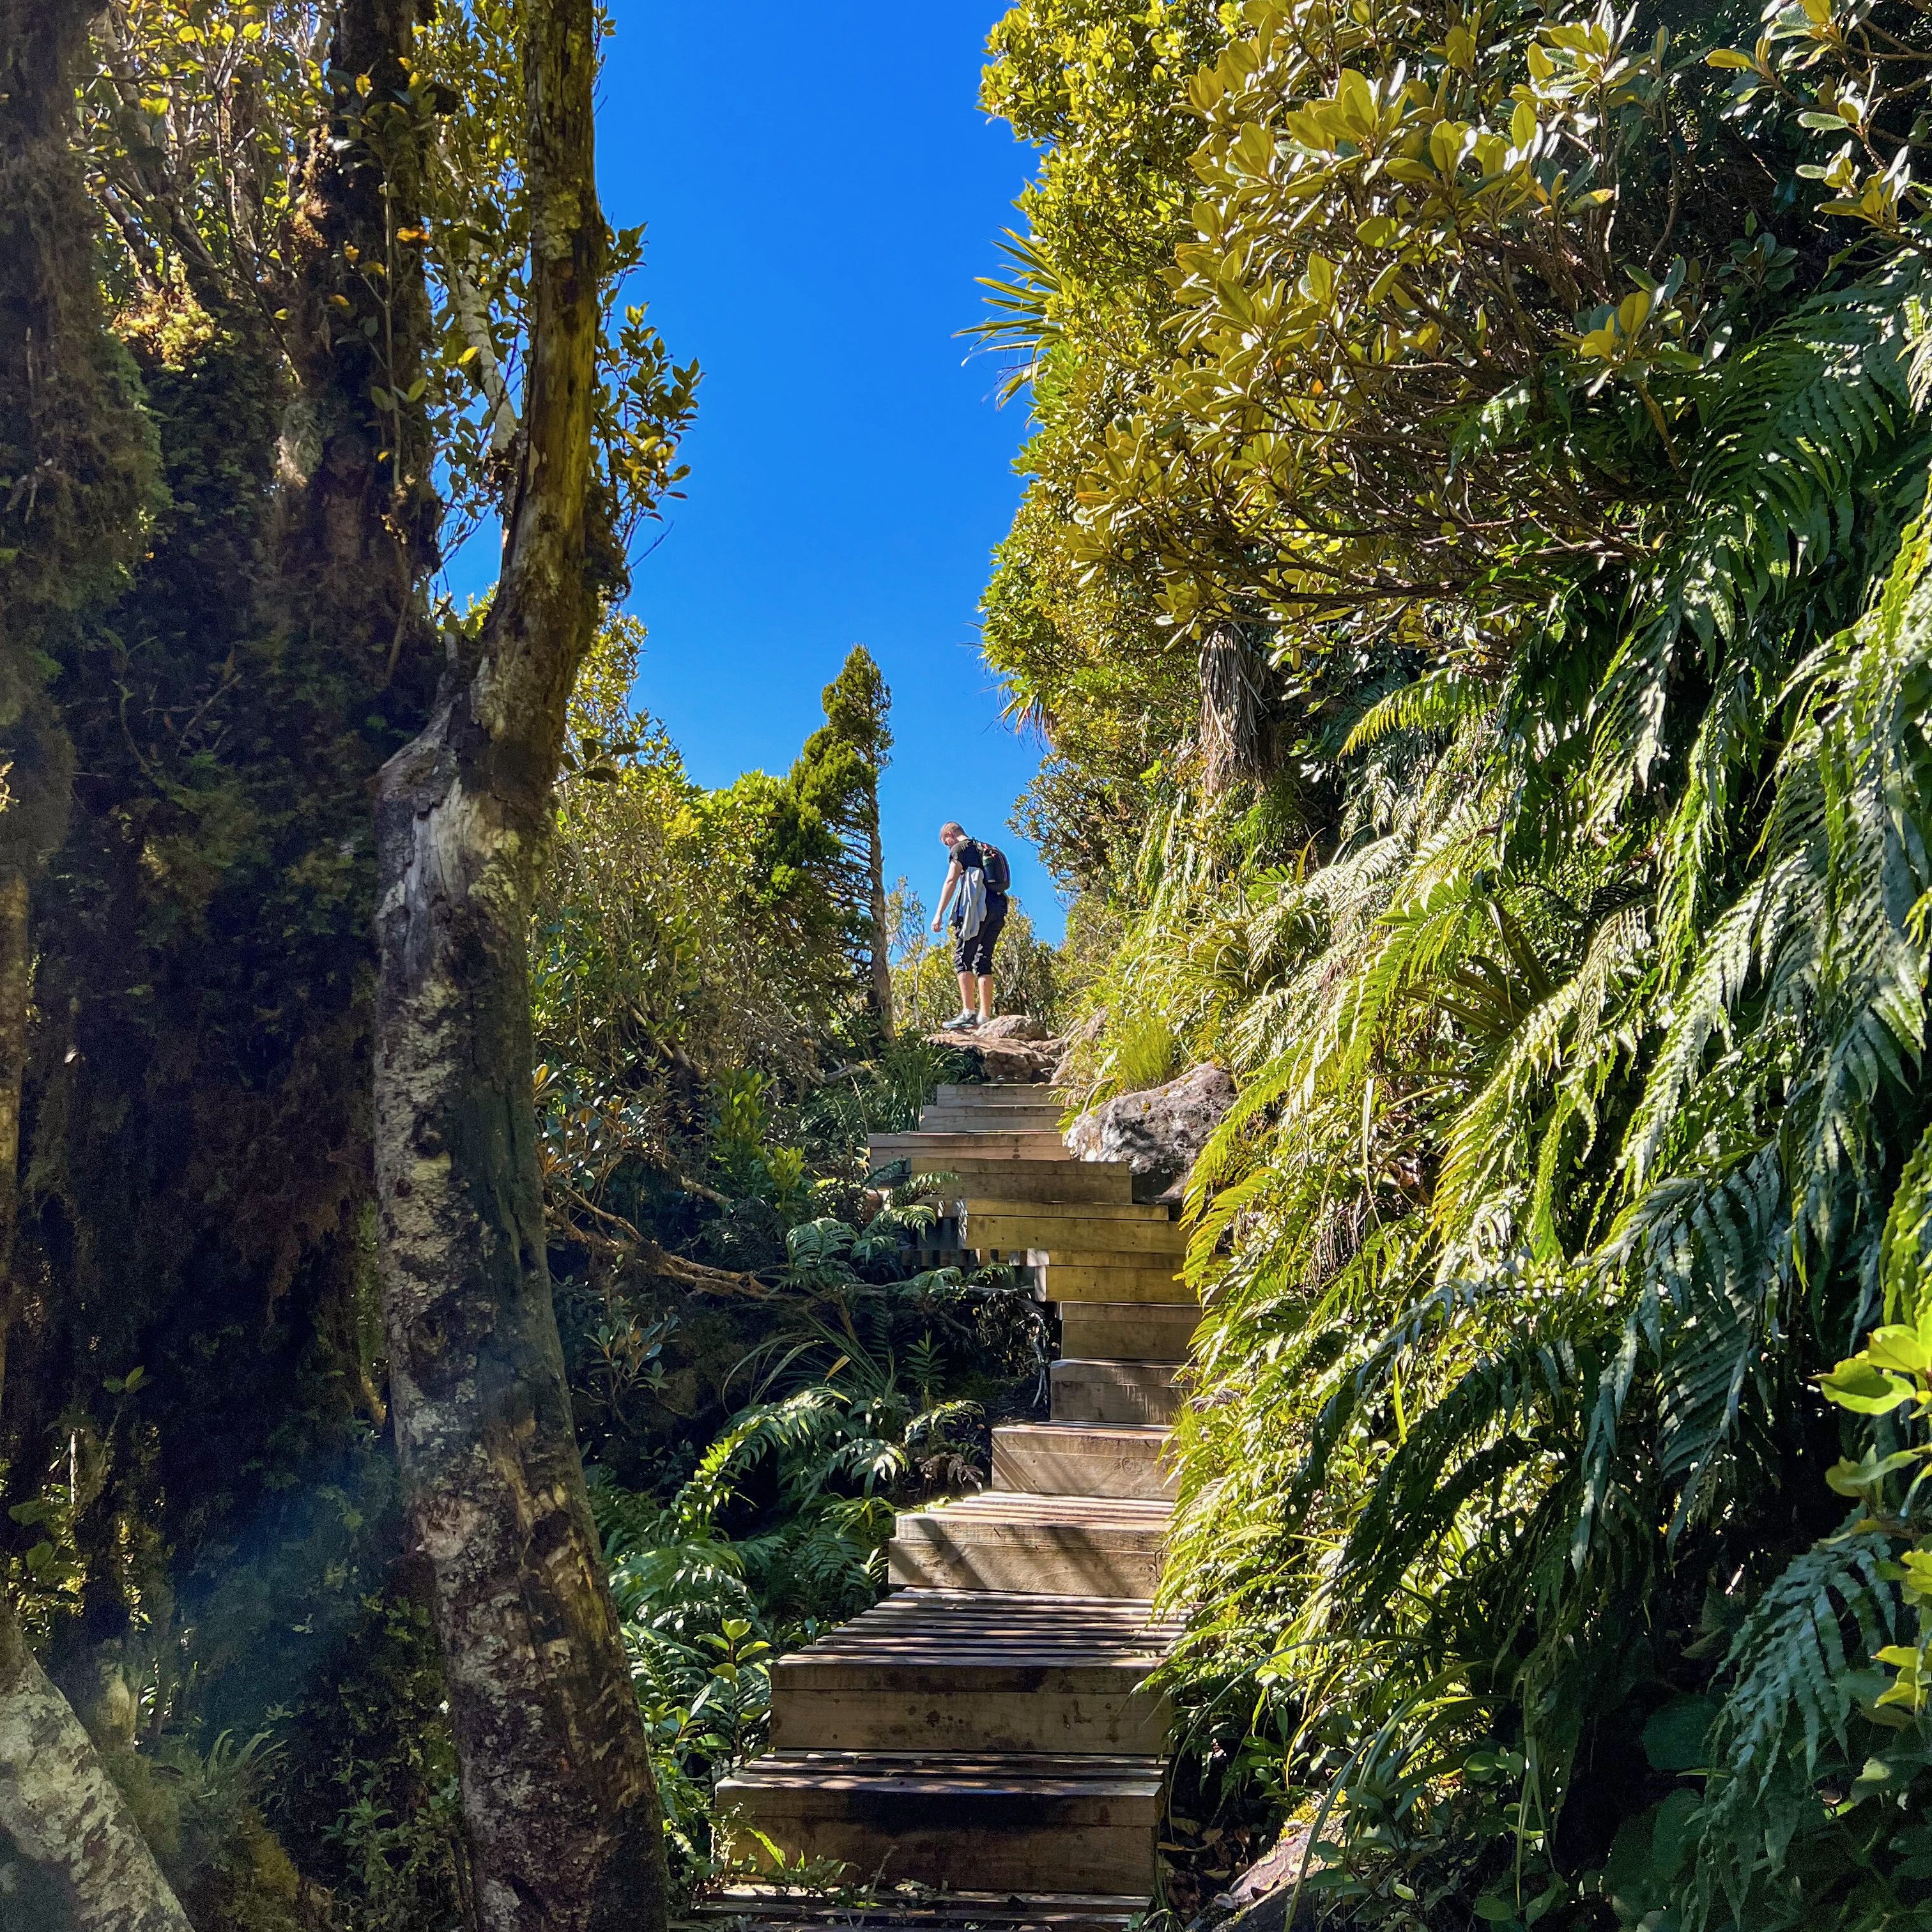
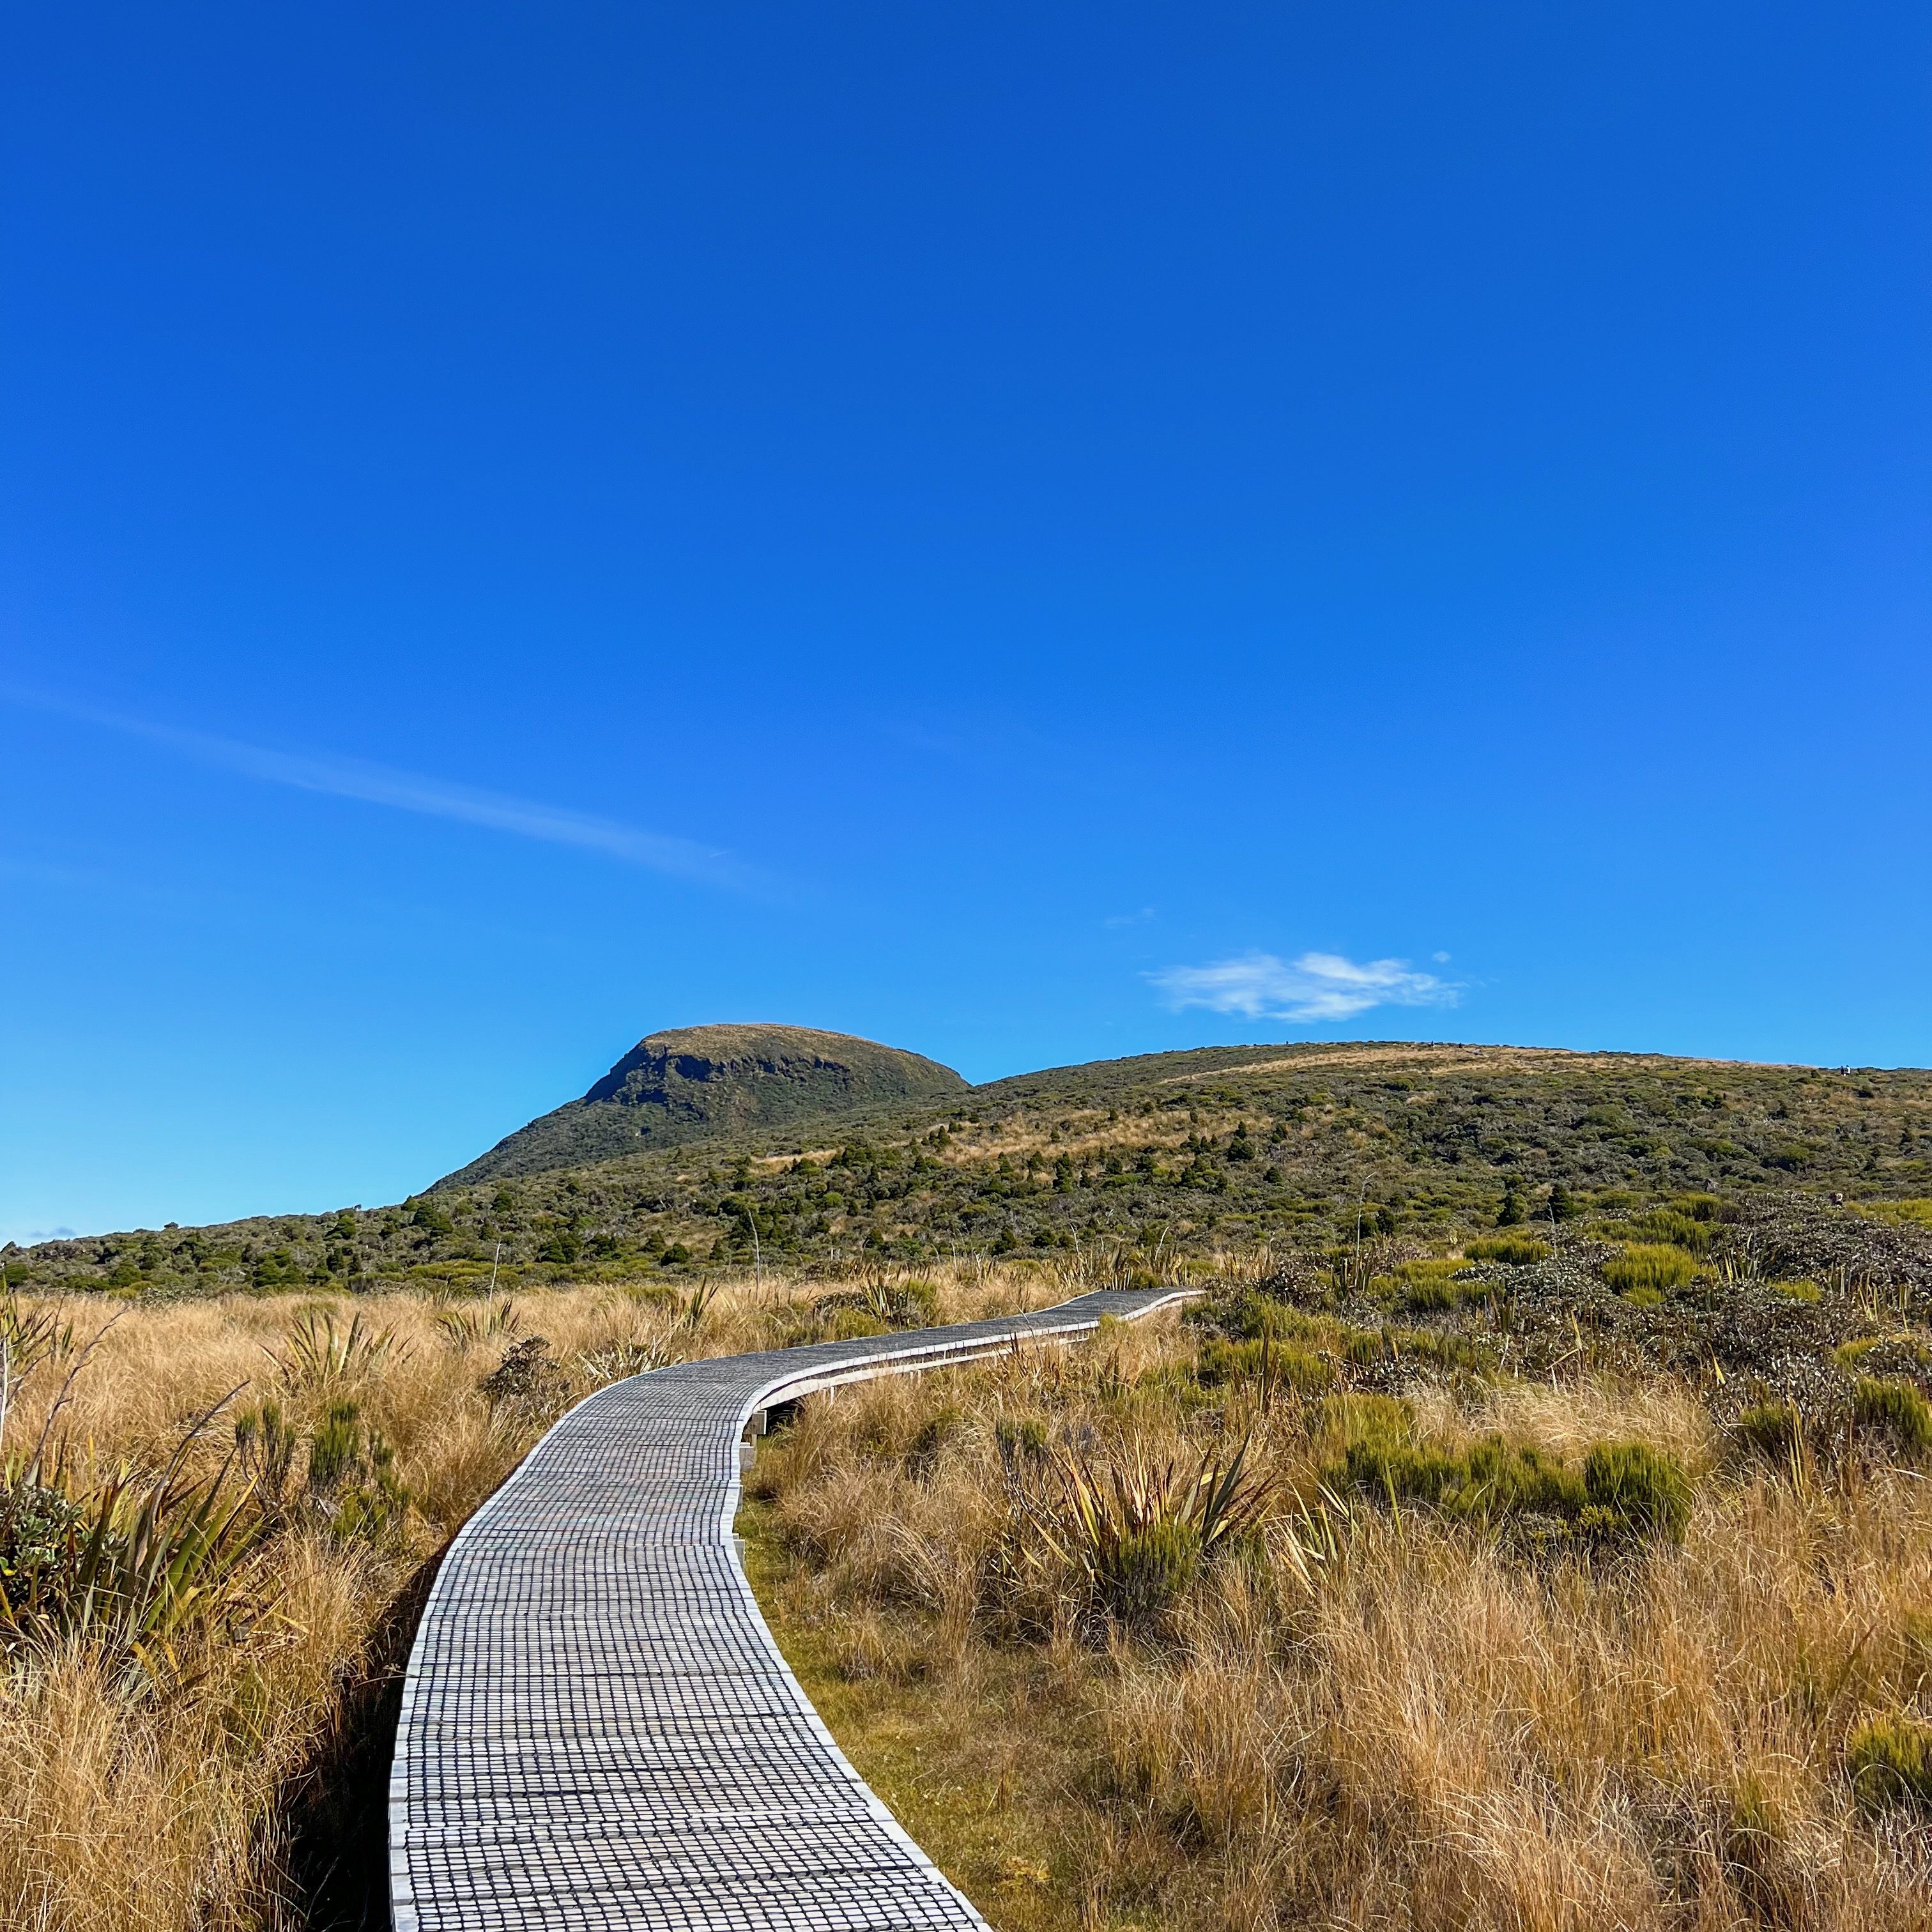
From the trailhead, your hike begins with a gradual uphill climb through what can only be described as a lush forest or a scene out of Lord of the Rings. The track up to Pouakai Hut is mostly boardwalk. As the track often gets muddy, the boardwalk is perfect, as it means you won’t get your feet soaking wet straight away! But it’s a bit frustrating because the boards are oddly spaced, and we kept getting our toes stuck in them.
Note: If you usually hike with hiking poles, stow them away until you cross the boardwalk or leave them in the car, as they’ll be useless here.
After approximately an hour of walking uphill, you’ll emerge from the dense forest onto an unpaved hiking track. This path stretches for about a kilometre and will take you up to Pouakai Hut, where you’ll begin descending towards the tarn.
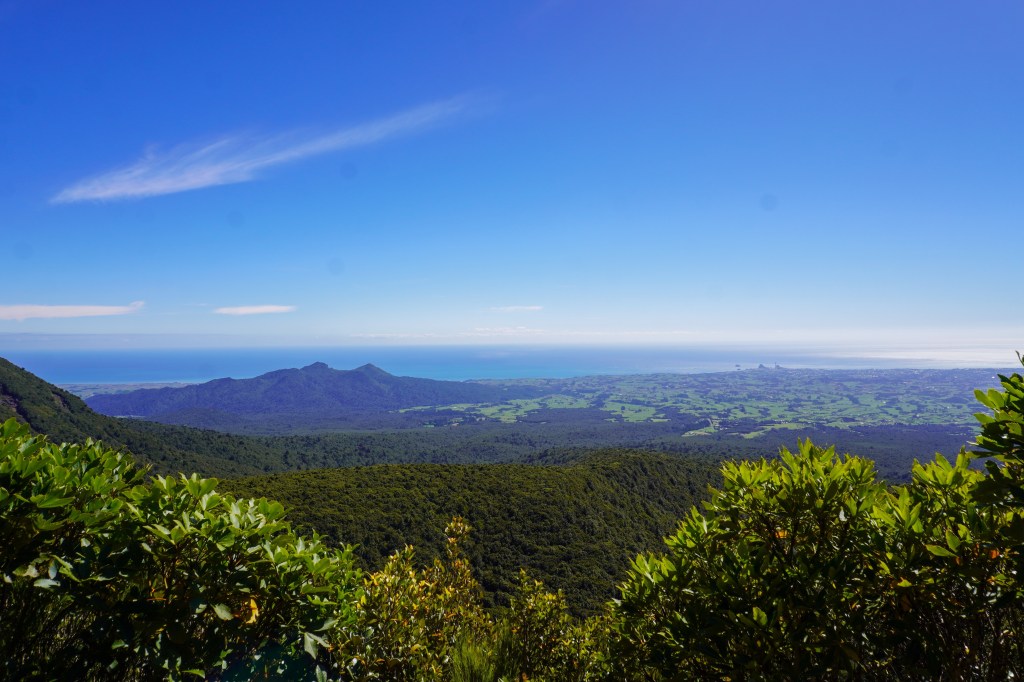
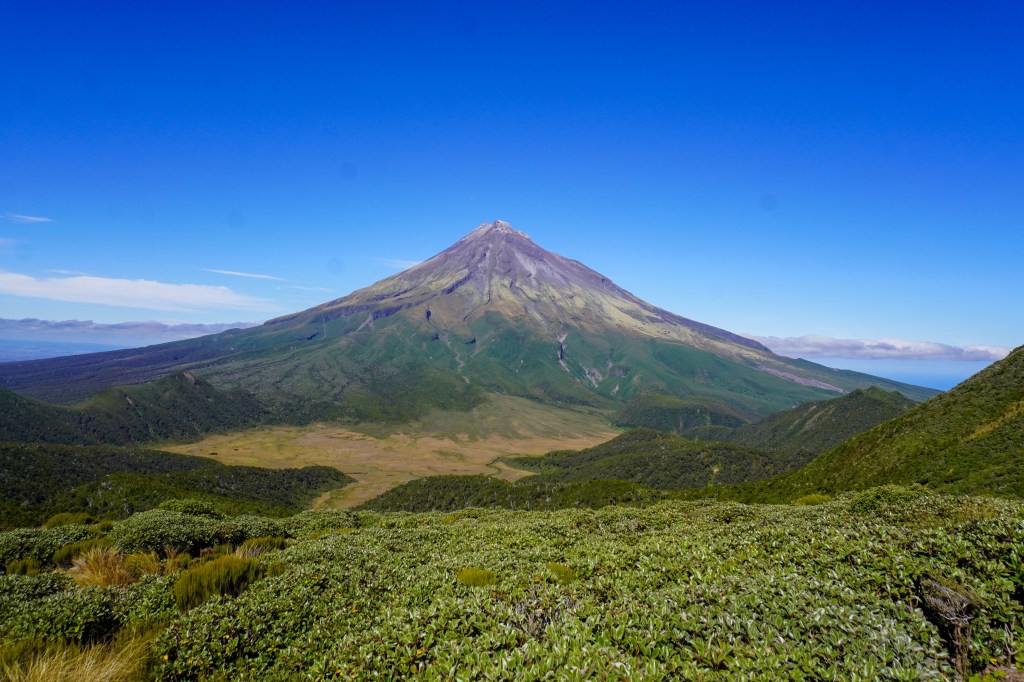
Continue following the track uphill past the Pouakai Hut until you reach a plateau. The view you get from this point in the walk is jaw-dropping, especially on a good day. Mount Taranaki stands proud in front of you, and the whole landscape, full of native bush, begins to open right up.
This part of the track is usually fairly busy as it is the meeting point of the Pouakai Tarn walk, Pouakai Crossing, and Pouakai Circuit.
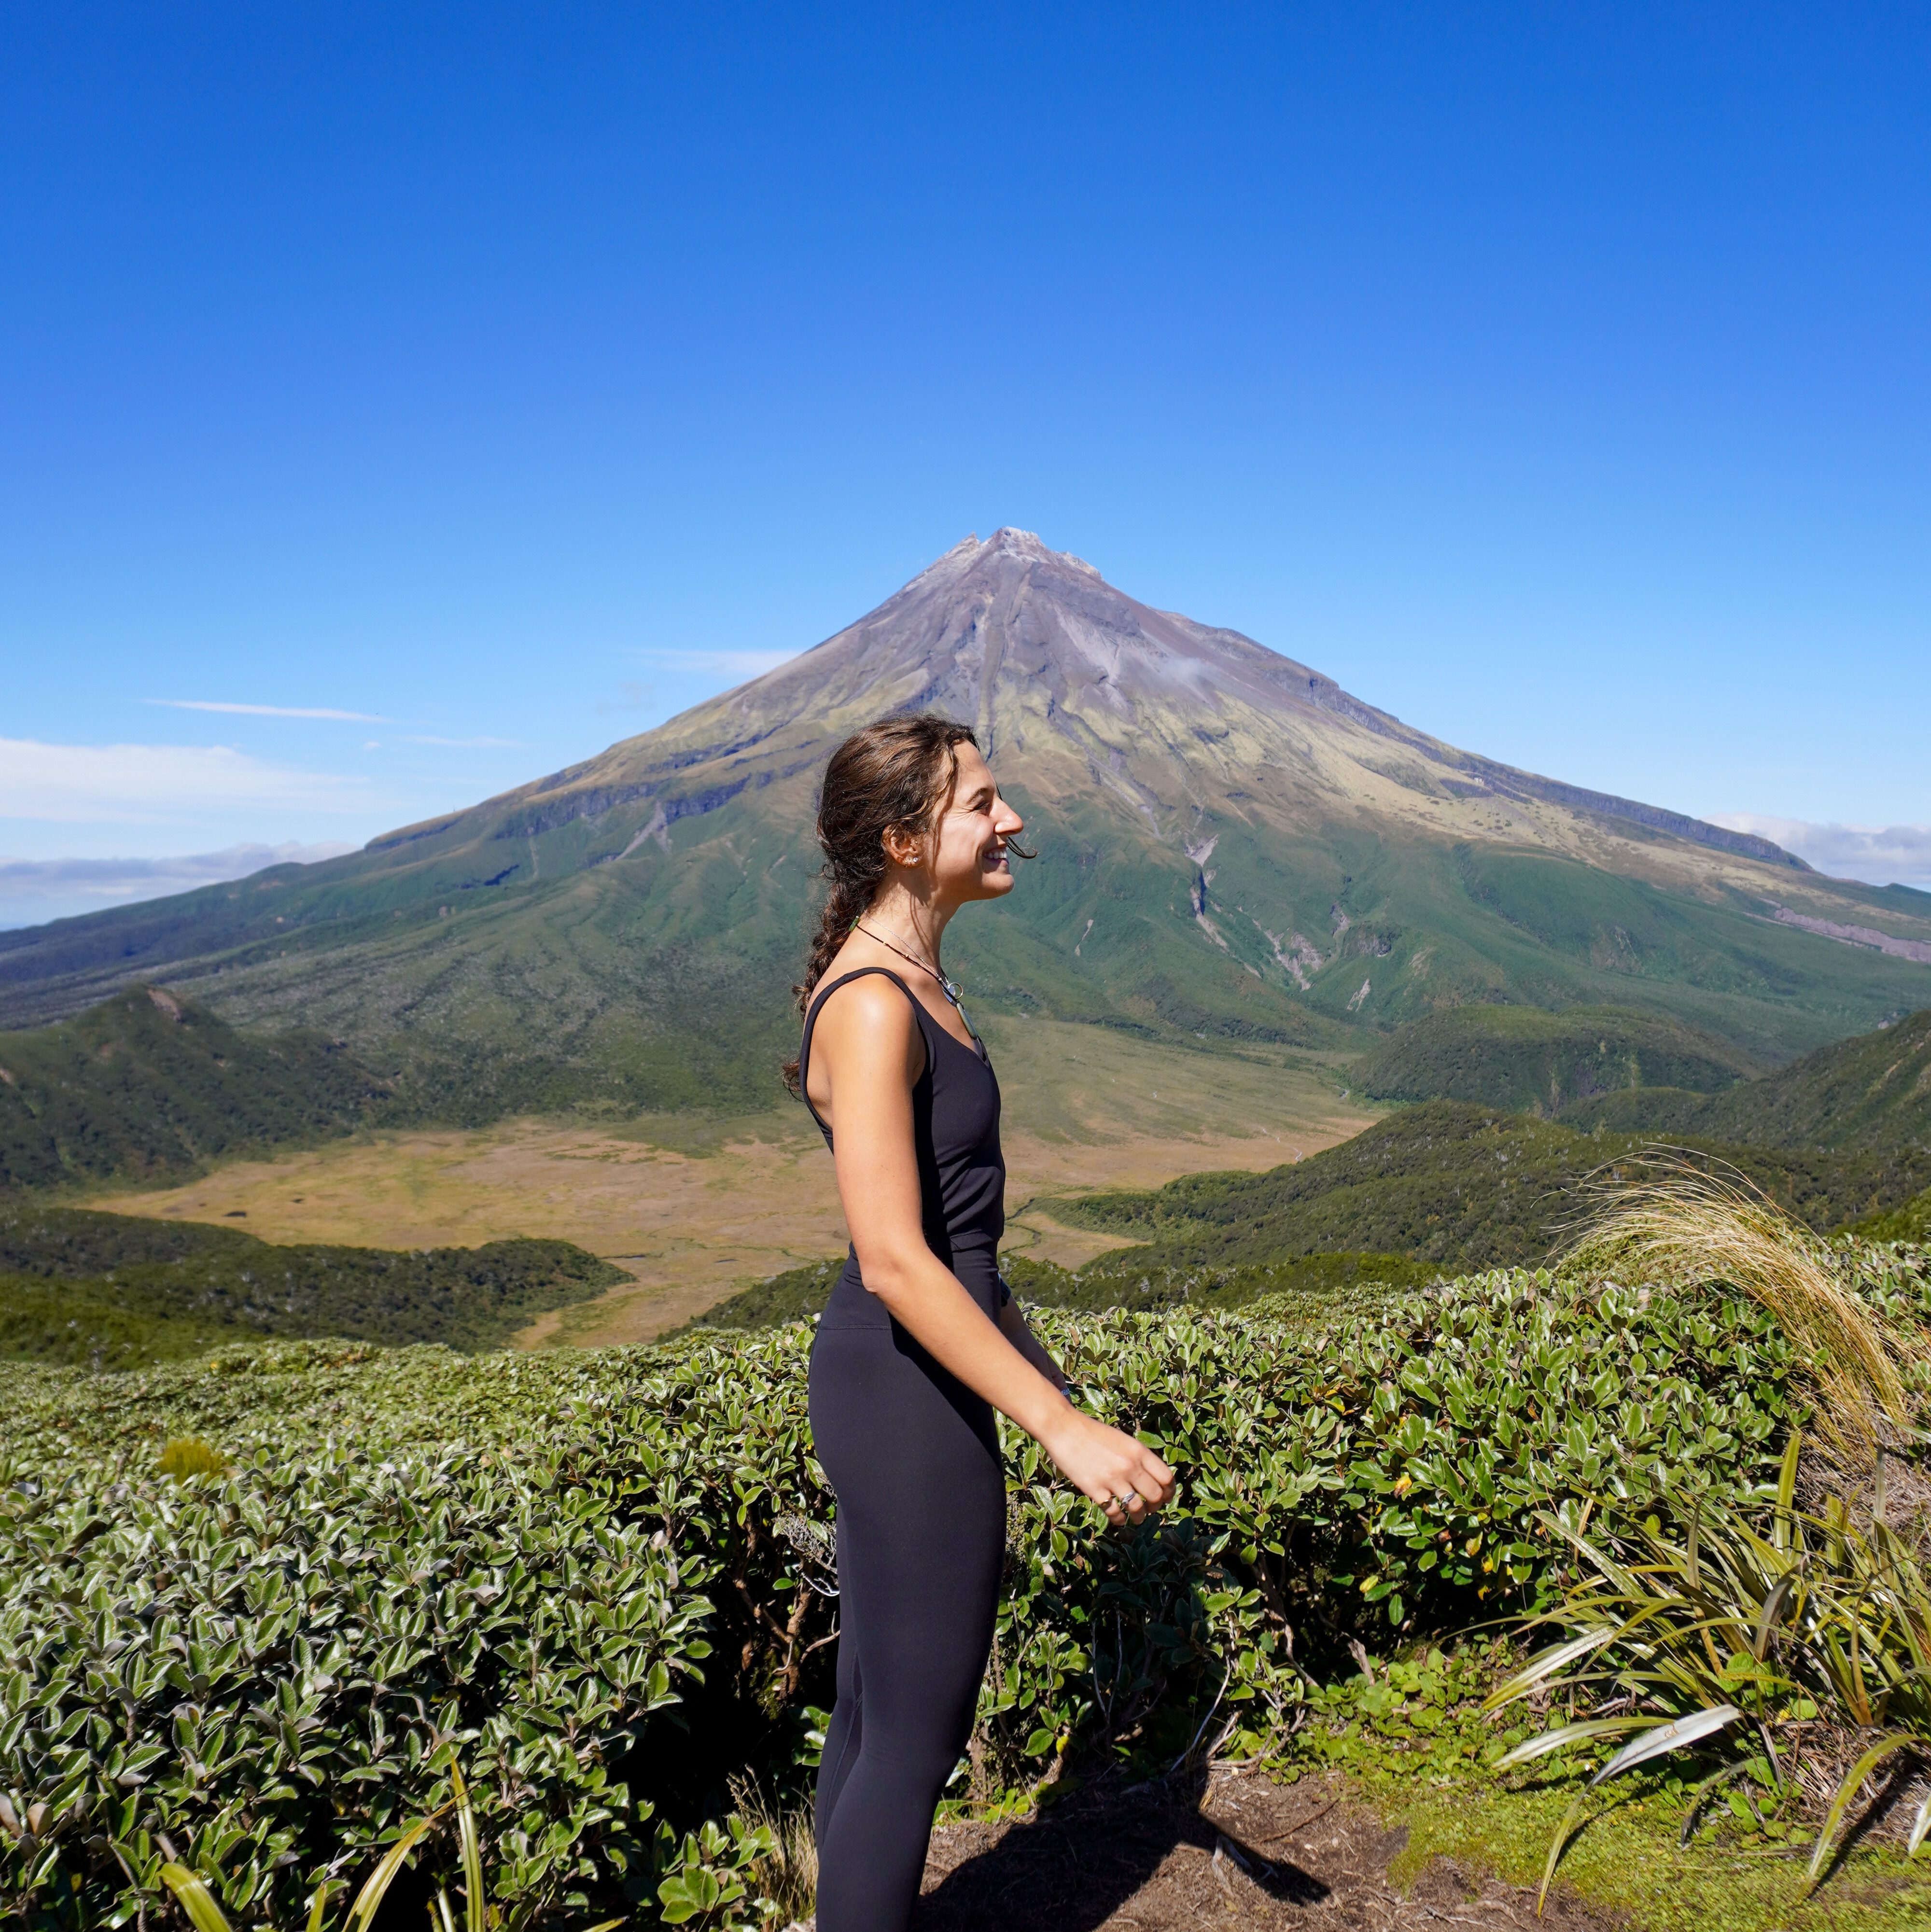
From the plateau, veer left and walk down another boardwalk towards the tarn. This stretch of the hike leads you past one of the most awe-inspiring views of Mount Taranaki; I found it difficult to believe that I was standing in the mountains again. I love how small they make you feel.
As you reach the end of the boardwalk, you’ll begin seeing crowds of people looking at the reflection of Mount Taranaki in Pouakai Tarn.
There’s a boardwalk that loops around the tarn. Due to the number of people taking photos (humans are so cute), it operates as a bit of a one-way system, so make sure to go left!
If I’m honest, this was a bit of an Instagram vs. Reality moment. The tarn is a lot smaller than I was expecting it to be (seriously, it’s like the Mona Lisa). But it was still incredibly beautiful, and the size of the tarn made it much easier to get a good shot.
On top of that, approximately 25-30 people were queuing up to take THE iconic photo in front of the mountain. I usually find that sharing a view with many other people dampens my experience (although who am I to complain? I am one of those people!) But that wasn’t the case here. There was this overwhelming sense of camaraderie. Everyone had travelled far and wide for the view and the photo and were helping each other get the perfect shot. I thought it was so cute and restored my faith in humanity.
While here, we took full advantage of having ‘dinner and a show’ and cracked open our packed lunch!
Once you’ve stared at the reflection for as long as you can spare, it’s time to head back to the Mangorei Carpark via the same track you came up on.
The way down felt a lot quicker than the way up. But that’s probably because we spent much of the way up stopping to take photos. Although it was beautiful, I found that the hike back down wasn’t as enjoyable as the way up. I love hiking as much as the next person, but sometimes, I wish I could invest in a teleportation device that would zap me from the view back to the car!
