
If you’re planning a trip to the Dolomites, you’ll know that your itinerary isn’t complete without a visit to Seceda.
Seceda was the view that made me fall in love with the Dolomites, from rolling hills and dramatic landscapes to mountains and glacier pools. Seceda has it all. It’s one of those iconic, once-in-a-lifetime hikes that takes your breath away.
There are two ways of visiting Seceda – one for sightseers and one for hikers! In this post, I’ll show you both and talk you through how to stretch your legs and hike to Seceda from Col Raiser.
- Things to know
- When to hike to Seceda
- How to visit Seceda by cable car
- How to visit Seceda without a cable car
- Step-by-step trail guide
- Femeda Rifugio to Seceda Summit
- Seceda Summit to Rifugio Pieralongia
- Rifugio Pieralongia to Rifugio Firenze
- Rifugio Firenze to Col Raiser Valley Station
Things to know
- Best time of the day to hike: First thing in the morning to beat the crowds and have the trail to yourself!
- Distance: 9km loop
- Difficulty: Moderate
- Time: 5 hours (including time spent at the rifugios)
- Starting point: Col Raiser cable car station
- Finishing point: Col Raiser cable car station
- Public toilets: Available at the Col Raiser cable car station and rifugios on the trail
When to hike to Seceda
Because of the mountain’s elevation, it’s only possible to hike to Seceda from late May until early November.
But, the best time to tackle this hike is when the track is clear of snow, and the cable cars are open – between June and mid-October.
We recently visited at the beginning of June, and although the weather was cold, the path was free from snow, and there were fewer people on the track – bliss!
When in doubt, check the weather conditions before you set out for the day by looking at the Seceda webcam.
How to visit Seceda by cable car
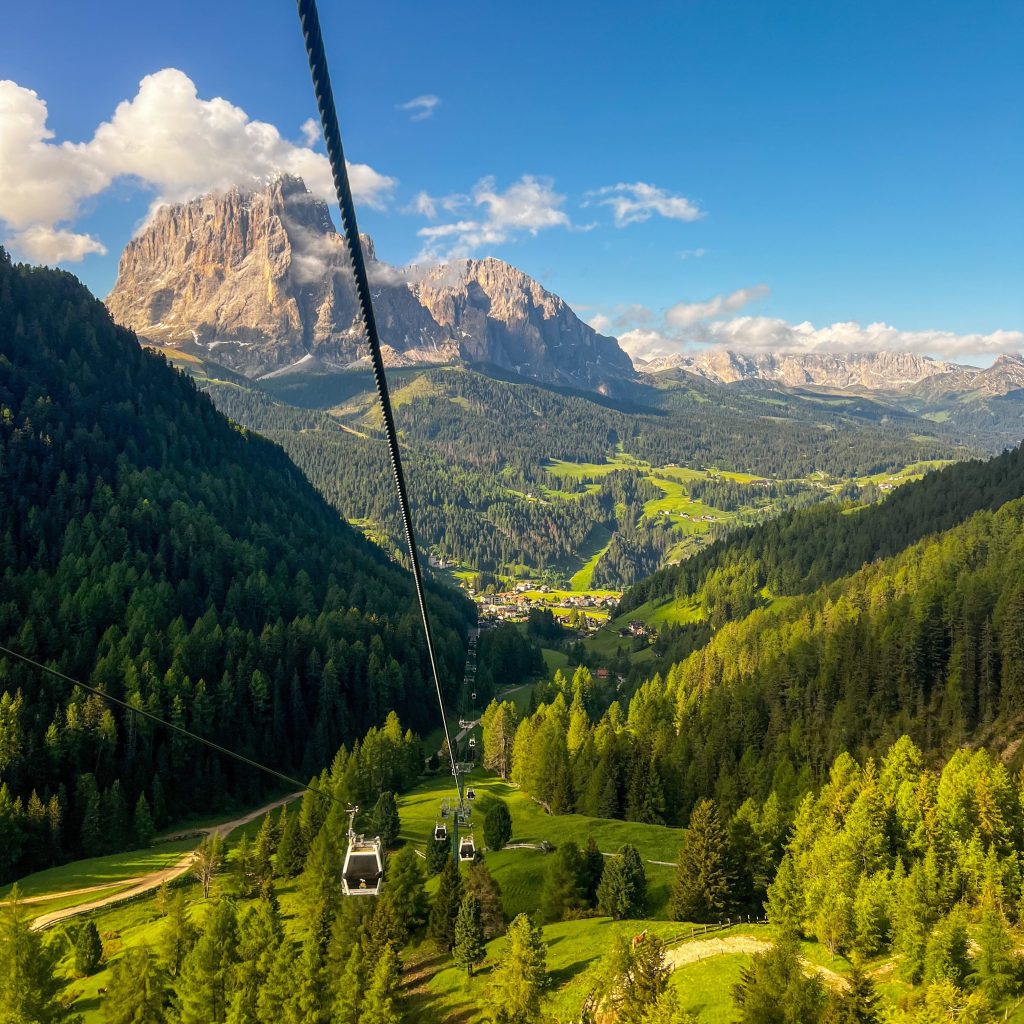
The easiest way to see Seceda is to take the Ortisei-Furnes gondola, followed by the Furnes-Seceda cable car.
Catch the bus or drive to the Seceda cableway valley station on Via Val d’Anna 2, I-39046 Ortisei, Val Gardena, South Tyrol.
If you’re driving, there is a paid car park directly at the valley station with fees of 1.90€ per hour (max 13€ per day).
Then, purchase a round-trip cableway ticket to Seceda. The prices for this are:
- Adults (16+): 39.5€
- Youth (8-15): 21€
- Children (0-7): Free
- Dogs: 5€
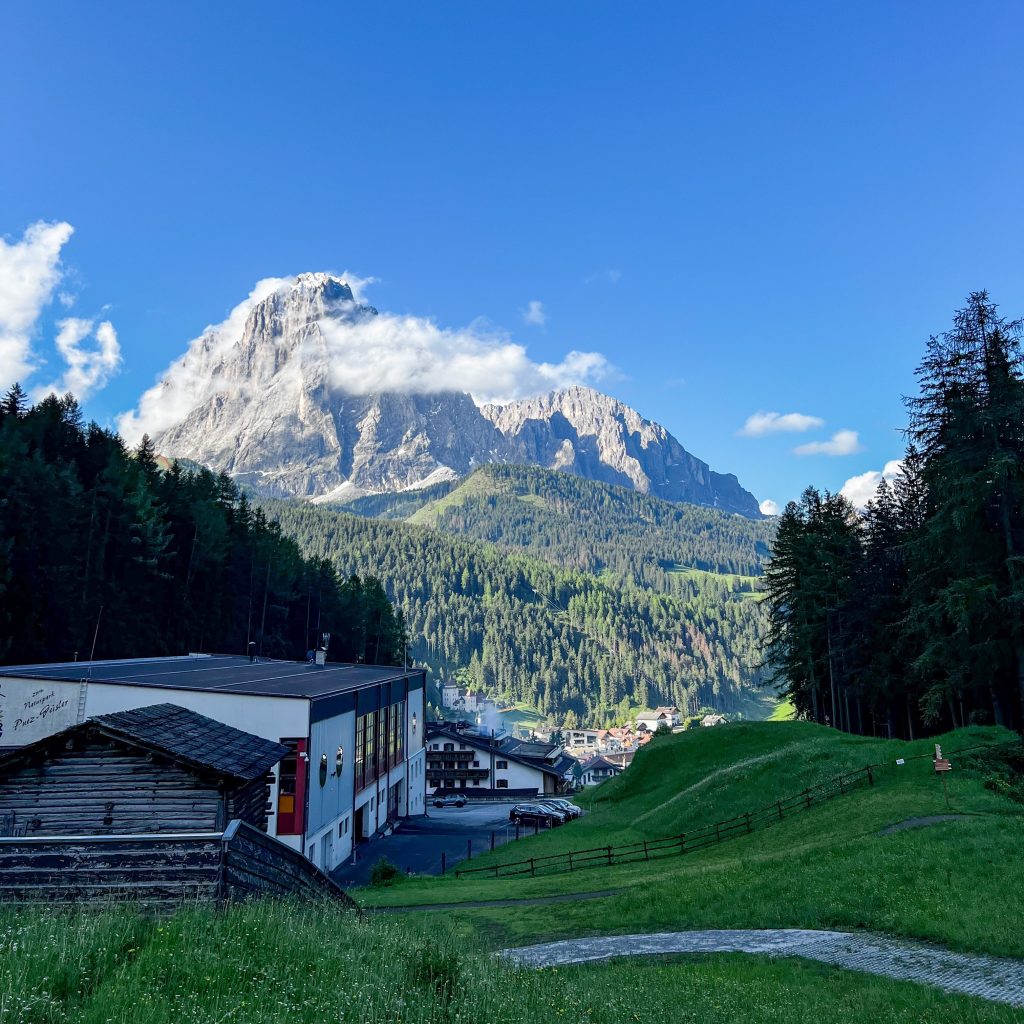
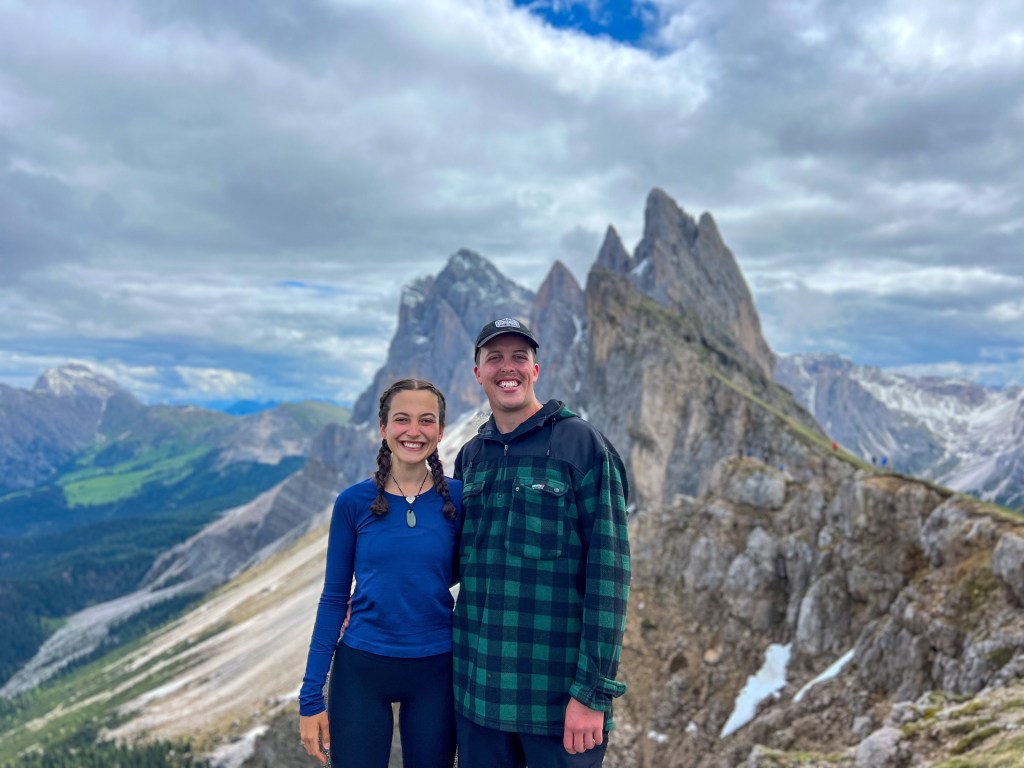
When you arrive at the top of the Seceda Cableway station, you’ll immediately be greeted by the Odle/Geisler peaks. Follow the signs to the Seceda summit, and you’ll soon see the iconic photo spot below.
From the top, it takes 10-15 minutes to walk up Mount Seceda and explore the vantage point. I highly recommend walking the narrow, semi-exposed path down the other side of the Seceda lookout for another (and, in my opinion, better) view!
How to visit Seceda without a cable car
If you visit the Dolomites before the Seceda cableways open, you can hike up to the top from the Col Raiser gondola in Selva in Val Gardena.
Drive to the Col Raiser station. A paid car park is on-site – parking costs 8€ per day.
Riding the Col Raiser gondola costs slightly less than the Seceda cableway.
- Adults (13+): 28€ (round-trip)
- Juniors (6-13): 17€ (round-trip)
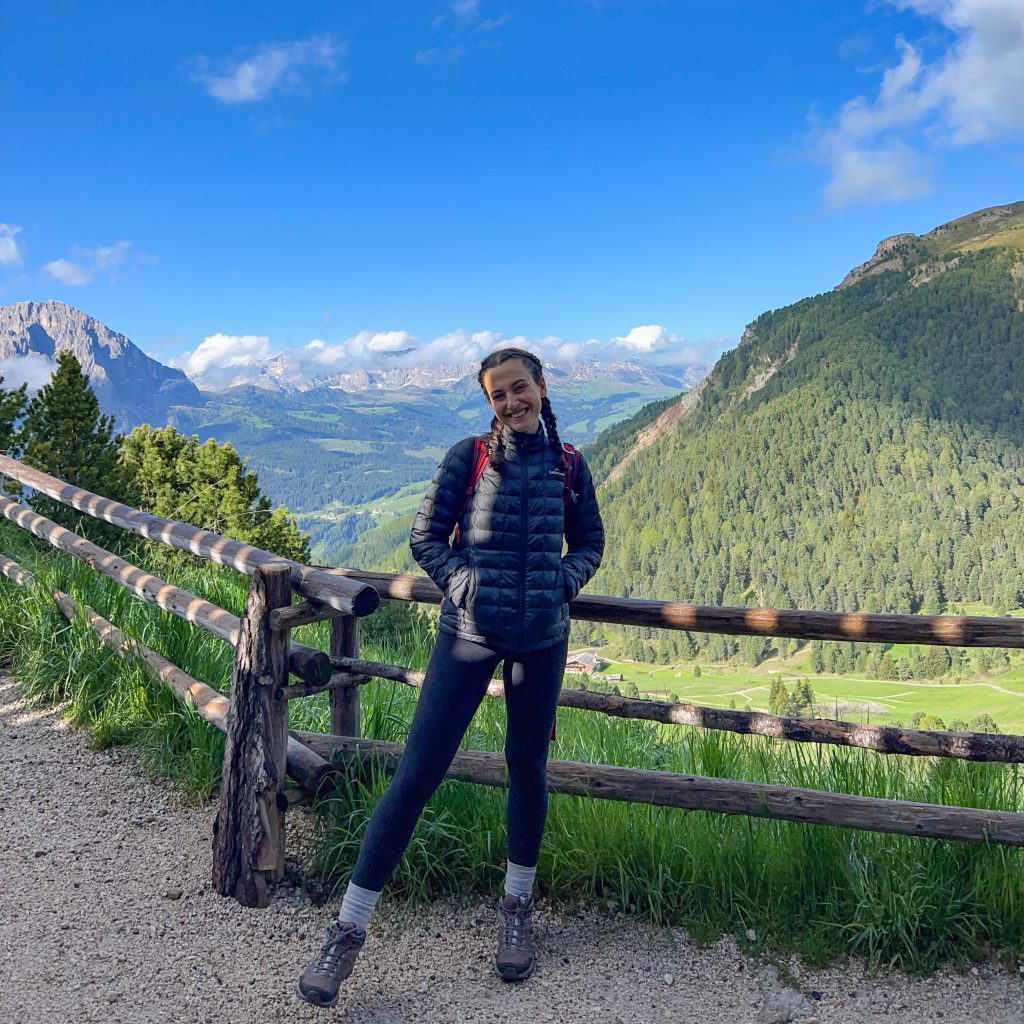
The hike from the top of the Col Raiser Valley station to the Seceda Ridgeline is 6km. Depending on your fitness, the trek will take about 3 hours to climb 984 meters – it’s a sweaty, spicy hike but so, so worth it!
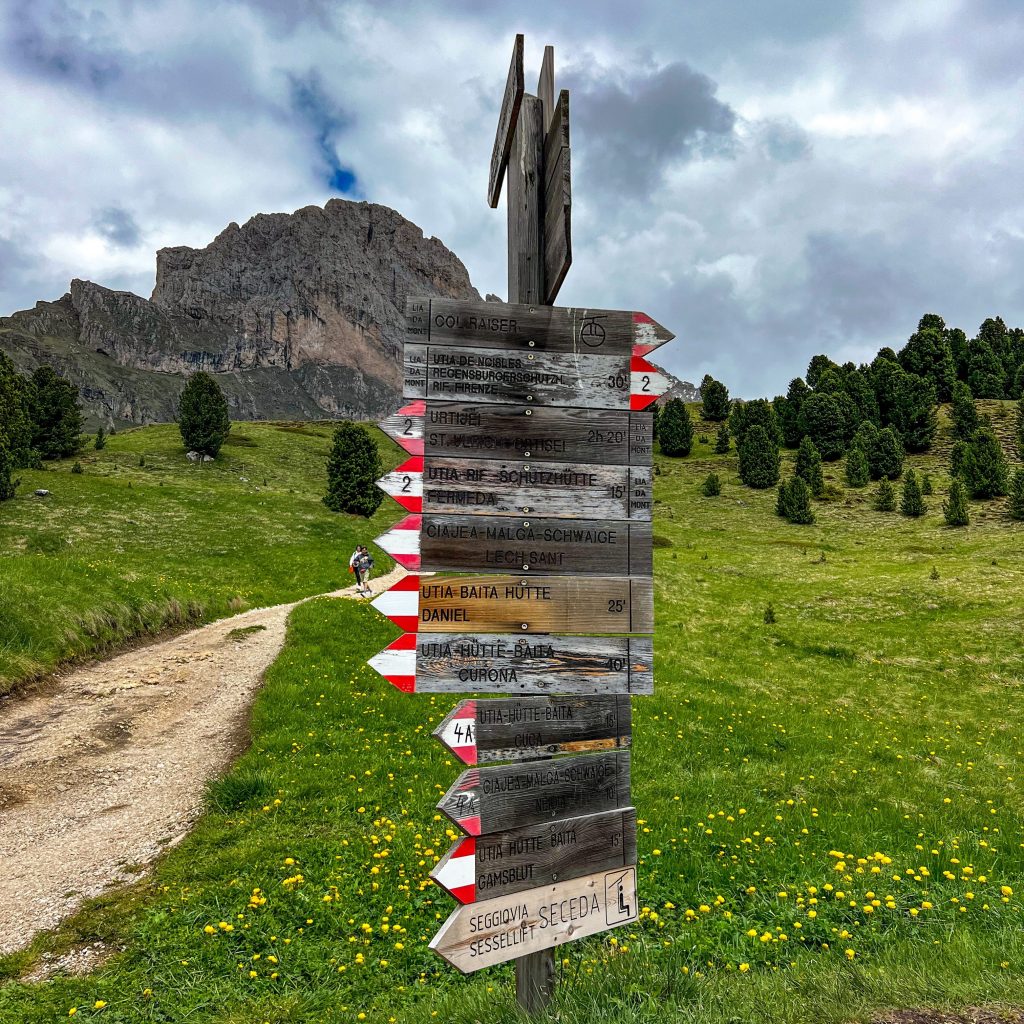
You’ll follow track number 1 and then 1A to get to Seceda Peak. I’ll walk you through the step-by-step guide below.
Step-by-step trail guide
When planning our hikes in the Dolomites, I found the amount of information on the internet SO confusing. Understanding the different trail junctions and track numbers took me so long!
So, I decided to break down our hikes and put together the step-by-step guides I wish I had. You should have no problems following this loop!
Check out my other Dolomites hiking guides here.
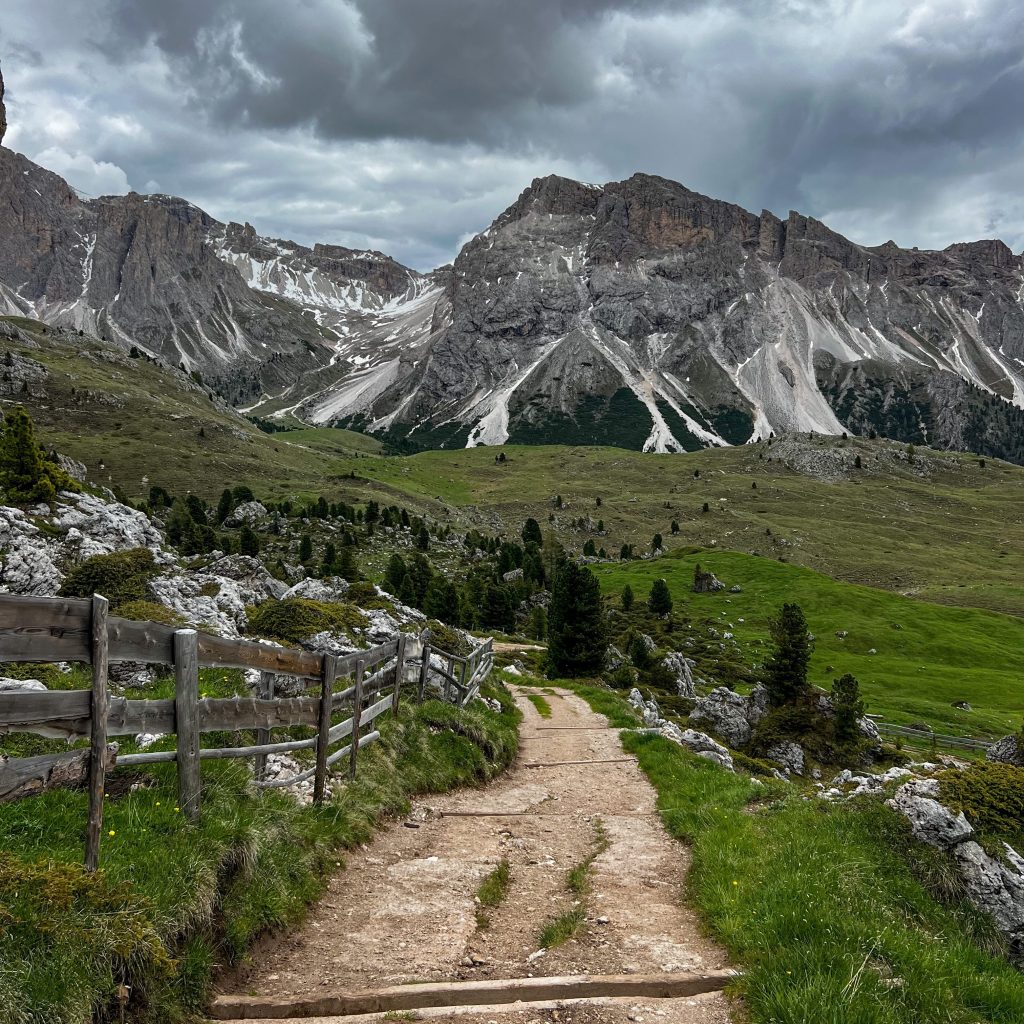
Col Raiser Cable Car to Femeda Rifiguio
The start of your walk begins at the Col Raiser Cable Car station. Catch your cable car up to the Col Raiser Almhotel and take a moment to admire the views!
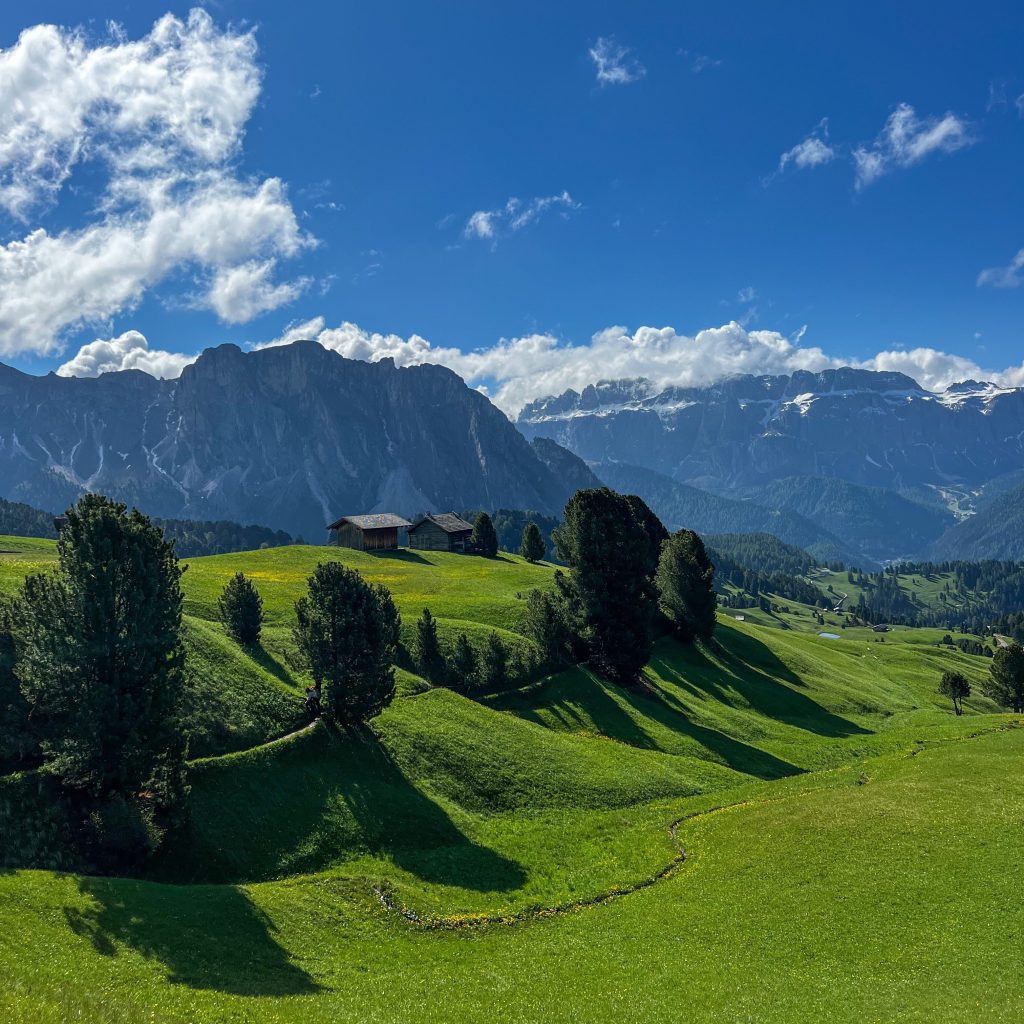
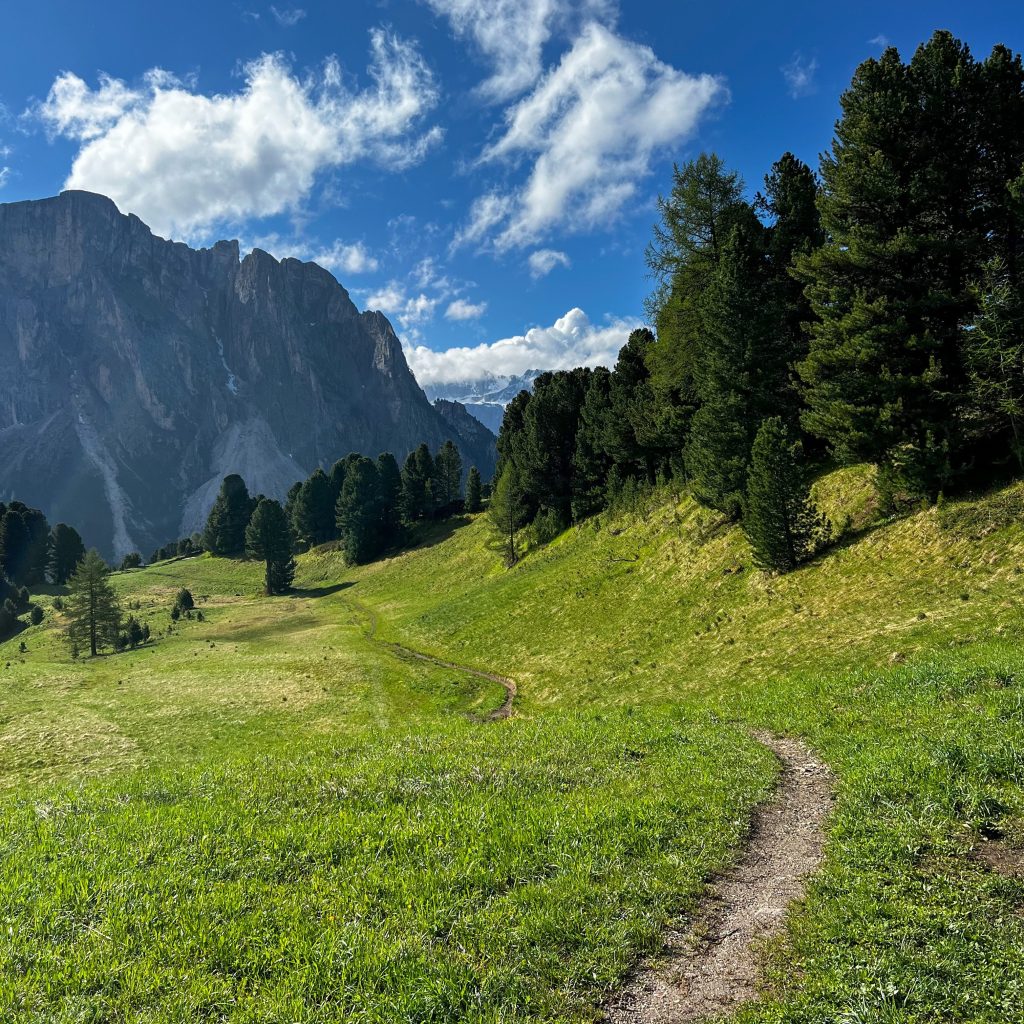
From Col Raiser Almhotel, follow the signs to Fermede and Seceda. The start of your walk will take you across alpine pastures and rolling hills as you take in the Sassolungo massif on your left and the Sella Towers.

Keep walking following the signs to Fermede and Seceda until you reach the Fermeda Rifugio. Stop to catch your breath (and take in the views!).
Femeda Rifugio to Seceda Summit
As the hike up Seceda is (essentially) scaling a ski field, your walk will get steeper from here. Follow the well-signed path as it switchbacks up the mountain.
You’ll get a chance to take a break at Baita Sofie before passing Ristorante Seceda as you gain elevation towards the summit.
Once you reach a cross, you’re at the summit. From the summit, you get the iconic views of Seceda and can see mountains in EVERY direction. You’ll see the Sassolungo and Passo Sella and down towards Alps di Siusi.
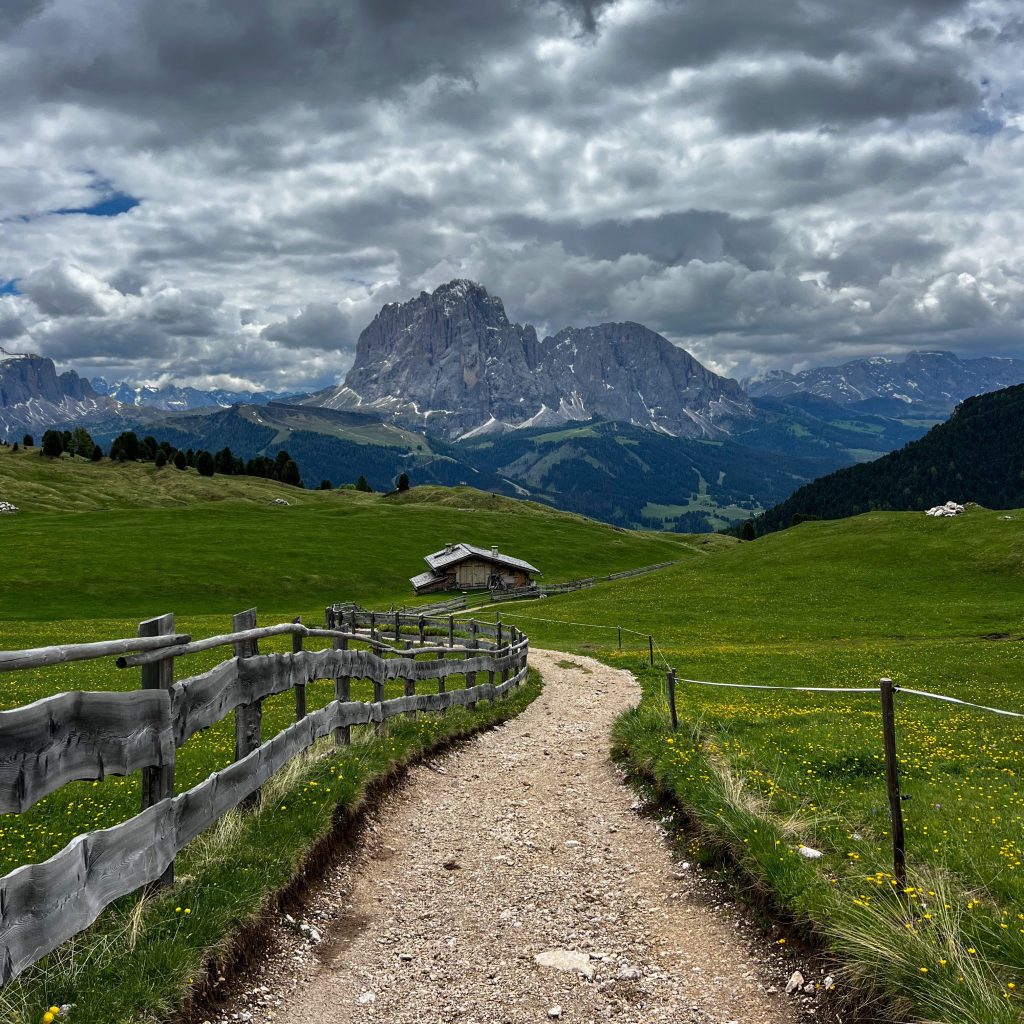
Seceda Summit to Rifugio Pieralongia
Continue to follow the Seceda ridge towards the rugged Fermeda peaks. Soon, the ridge footpath will begin to descend and join onto track number 6.

Keep walking along track number 6 through the grassy Seceda Alp to Forcella Pana. At the Forcella Pana junction, take a right and descend following track number 1 toward Troier Hut (you’ll see the signposts for “Trojer Hütte – Baita Trojer”).
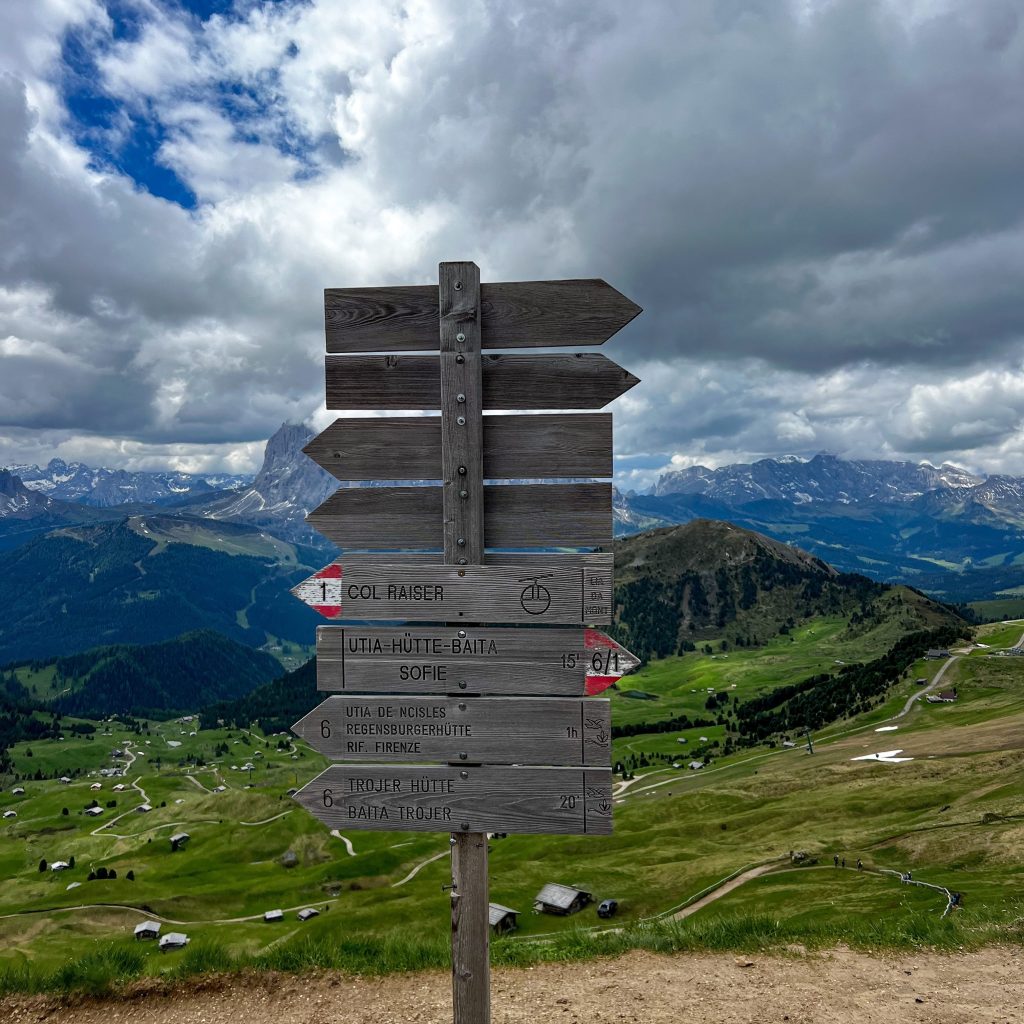
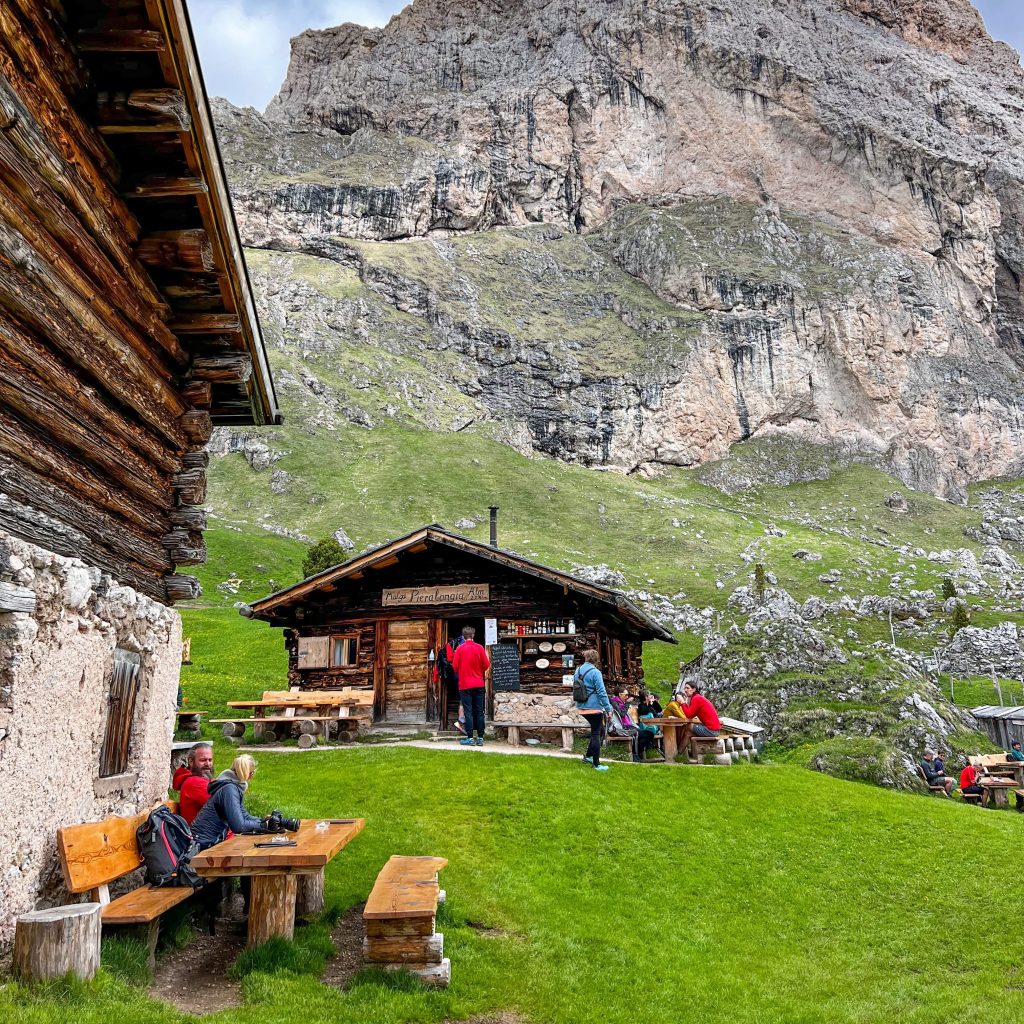
After a few minutes, you’ll reach track number 2B. Turn left toward Pierolongia Hütte (turning right will take you to Baita Troier).
You’ll find another mountain hut at the Pieralongia mountain pasture. This hut serves light food and rink – I highly recommend stopping here for a drink or bite to eat!
Rifugio Pieralongia to Rifugio Firenze
Follow the path through Rifugio Pieralongia and continue walking straight on track number 2B for another 15 minutes.
Then, you’ll reach an intersection. Turn right onto track number 13B in the direction of Rifugio Firenze.
After approximately 10-15 minutes, you’ll descend onto track number 13 until you reach the Firenze mountain hut.
We had our picnic lunch here, and it was gorgeous. You get a full, sweeping view of the Odle Group and the Sassolongo Group. You can have your lunch at Rifugio Firenze between 11:30 am and 3 pm from June to mid-October – I highly recommend it!
Rifugio Firenze to Col Raiser Valley Station
Continue walking through Rifugio Firenze and follow the trail all the way back to the Col Raiser Almhotel (about 1 hour). Then, catch the gondola back to the valley station.
Job done!
